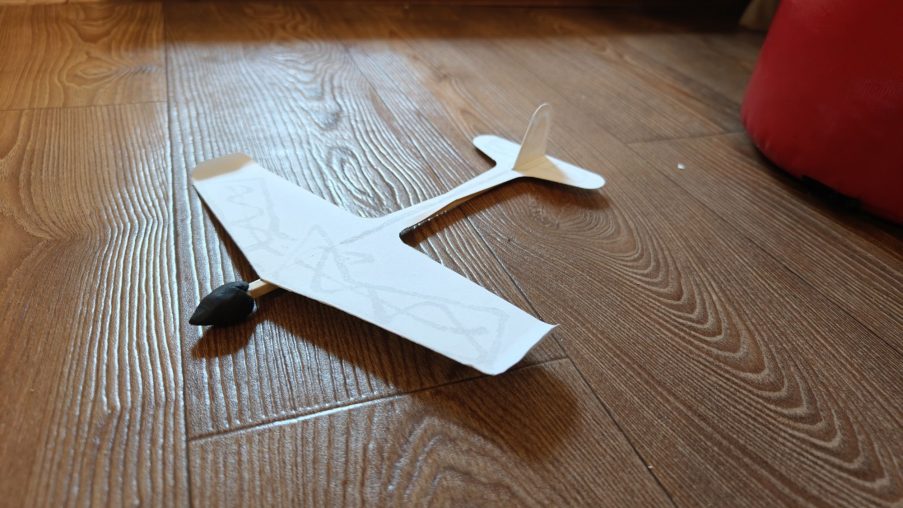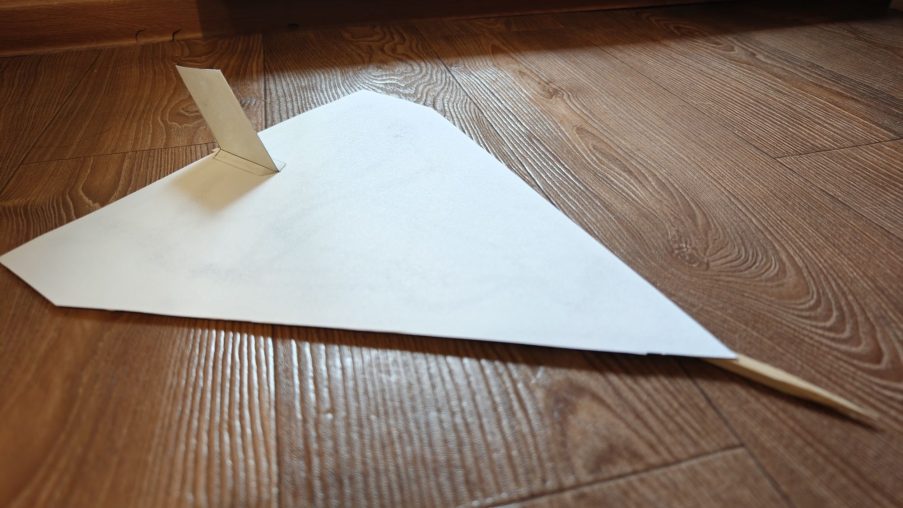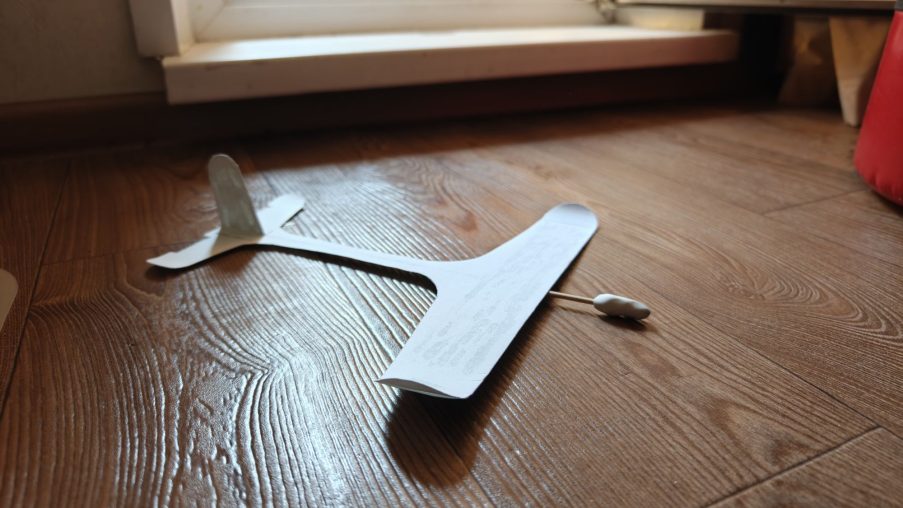
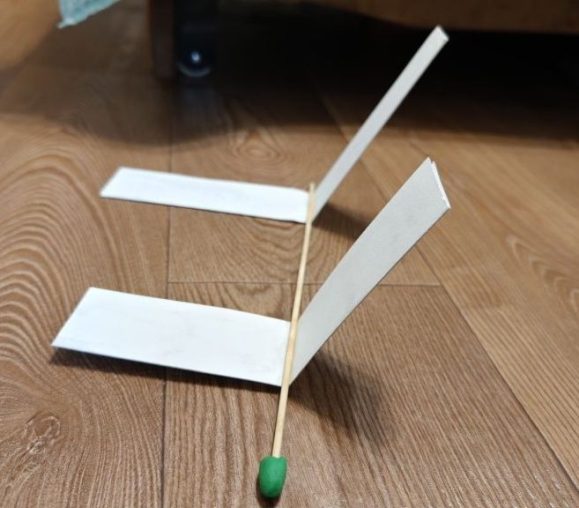
The triangular-wing model (Delta configuration) features high speed and excellent stability in gliding flight. The single-piece construction with double stiffening folds and a bamboo spar protects the airframe from deformation during launch.Materials needed:1 Watercolor paper (1 sheet, A3 or A4 size)2 Long bamboo skewer (30 cm)3 PVA glue4 Modeling clay for balancing5 Ruler, pencil, scissors, … Continue reading “Paper Delta-Wing Glider”
Paper Forward-Swept Wing Glider “Berkut”The forward-swept wing design gives the model excellent stability and a fast gliding flight. The aircraft is based on a single-piece paper cutout with smooth transitions to the fuselage, which protects the paper from tearing during landings.Materials needed:Watercolor paper (1 sheet, A3 or A4 size)Long bamboo skewer (30 cm)Cyanoacrylate glue (superglue)Modeling … Continue reading “A glider with a rearward swept wing.”
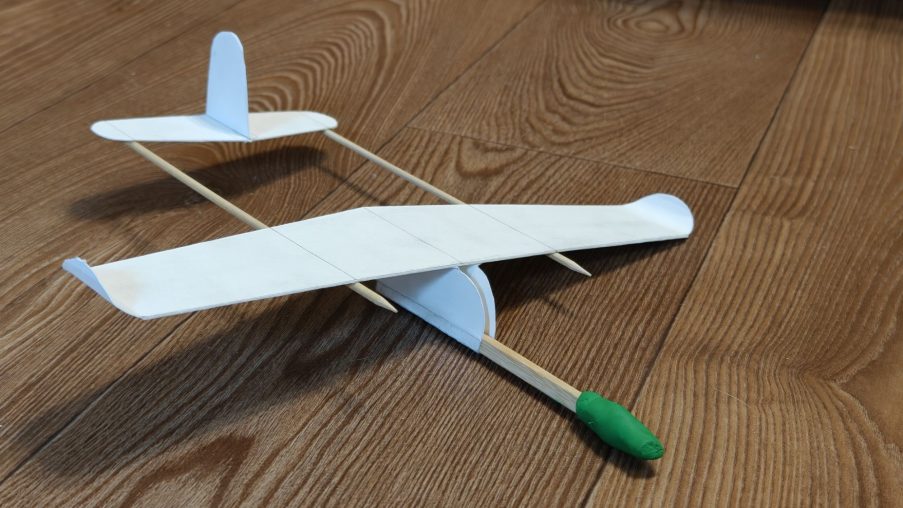
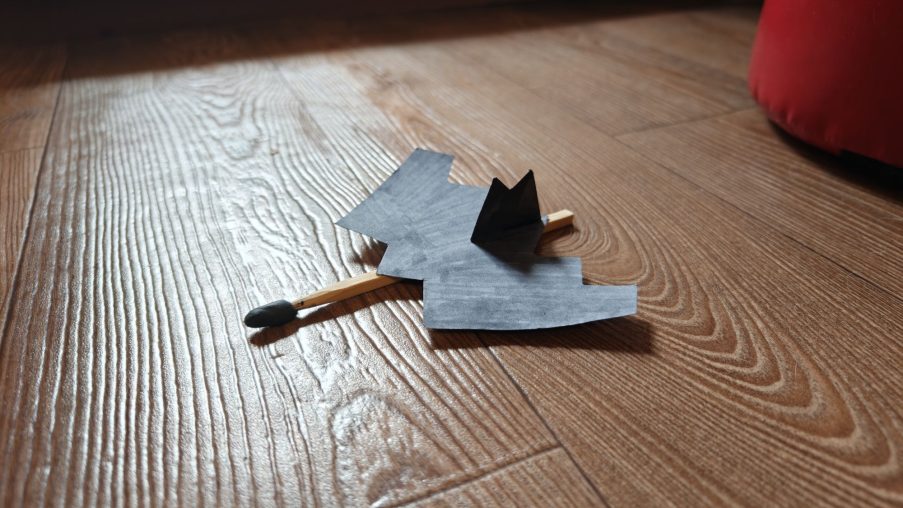
This single-piece layout with a forward canard wing looks like a futuristic drone. Thanks to the integrated paper fuselage strip, it comes together quickly and holds its geometric alignment perfectly.What you’ll need:A sheet of heavy paper (watercolor paper or Bristol board works best)A long wooden or bamboo skewerPVA glue (or any paper-friendly craft glue)A small … Continue reading “Forward-swept canard”
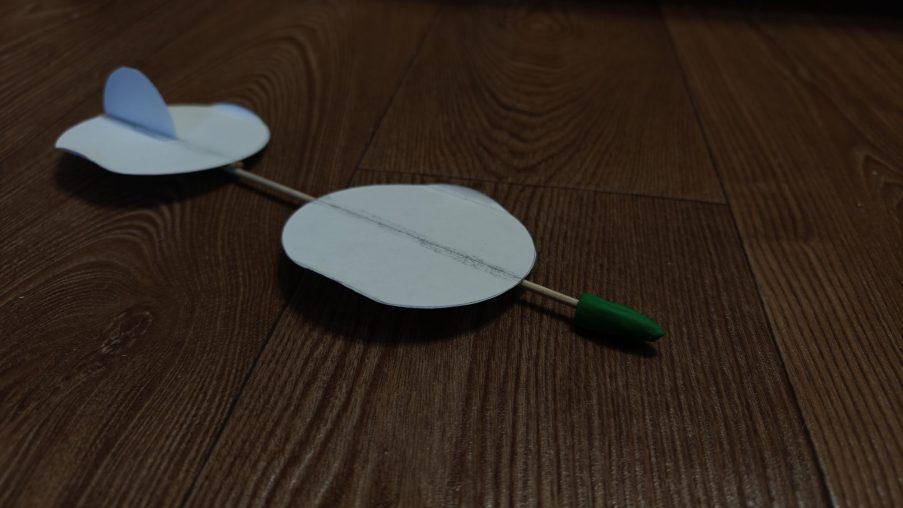
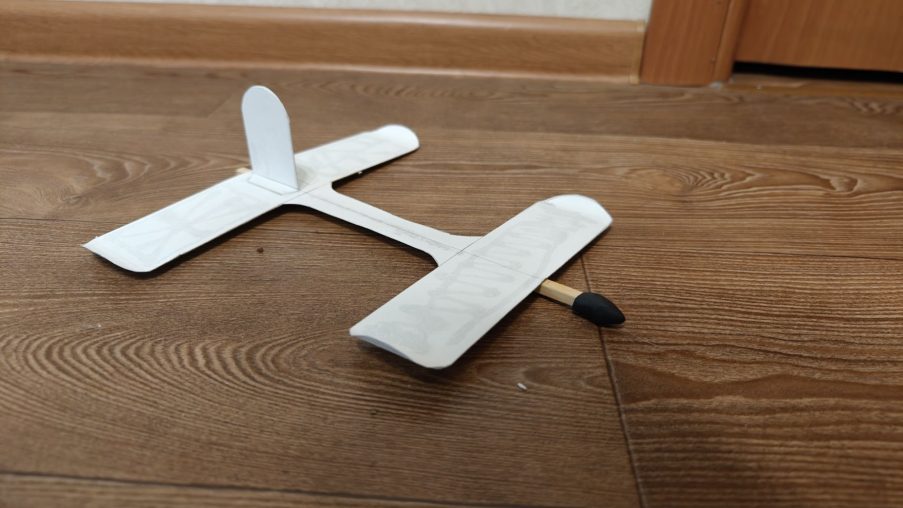
How to Make a Simple Flying Wing with Thread StabilizationWhat you will need for assembly:Heavy paper (watercolor paper or poster board)Square wooden skewerThread and a needleCompass or round plateRuler, pencil, utility knife, and scissorsPaper glue (PVA or any similar glue)Modeling clay for ballast 1)Step-by-step assembly instructions:Making and preparing the wing. Take a sheet of heavy … Continue reading “Flying wing Code name: Kolobok.”
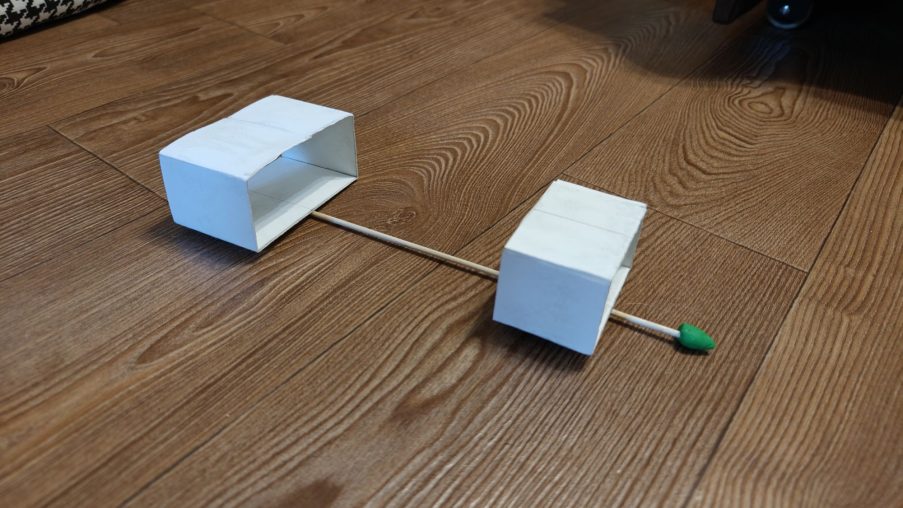
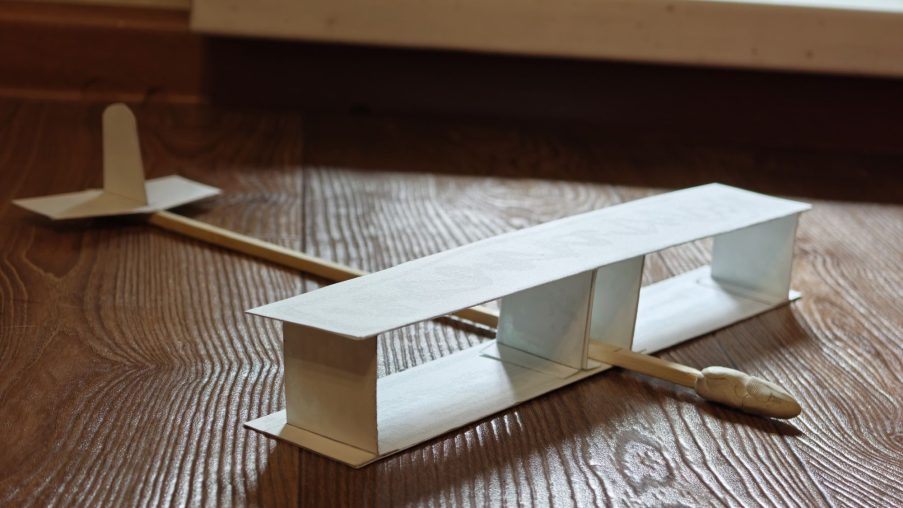
It may not look like a traditional paper airplane, but it flies surprisingly straight and far. The best part is that you can build this model in just 10–15 minutes using items you probably already have at home.Materials needed:Heavy paper (watercolor paper or poster board). Regular printer paper is too soft and the rings will … Continue reading “Ring toss”
In this article I will talk about painting two models 1 to 100 of the same style. “Tamiy Dark Gray” is used as the base color. It’s a very specific paint; it dries very quickly and becomes viscous. Therefore, it needs to be thinned heavily and applied in several thin layers. To create a volumetric … Continue reading “Models 1 to 100: “Pz. IV A” and “Sd.Kfz. 251”.”
To begin, a long ski was created from pine slats and 4mm balsa. The design was sculpted with a tip that curved outward into a teardrop shape. We needed the shape of the ski so that the model could take off without landing gear. Two frames were raised from the ski base, one of which … Continue reading “Creating the fuselage.”
First, we need to make a plate that will serve as the base for the wing structure. Each individual plate is glued together for each snout client. All the wing components will then be attached to this plate. Next, the wing struts, slats, aileron plate, and part of the nose are glued to the plate … Continue reading “Making wings for the Pelican model.”
In this article, I will share my experience painting the 1/100 scale Sd.Kfz.234/2 Puma model from Zvezda. Painting 1:100 scale models is the best way for beginners to learn modeling for a number of reasons. Firstly, these models are quite affordable ($3-$6 each). Secondly, the model’s size makes it easier to practice, as your hand … Continue reading “1/100 scale model of the Sd.Kfz.234/2 Puma armored car”