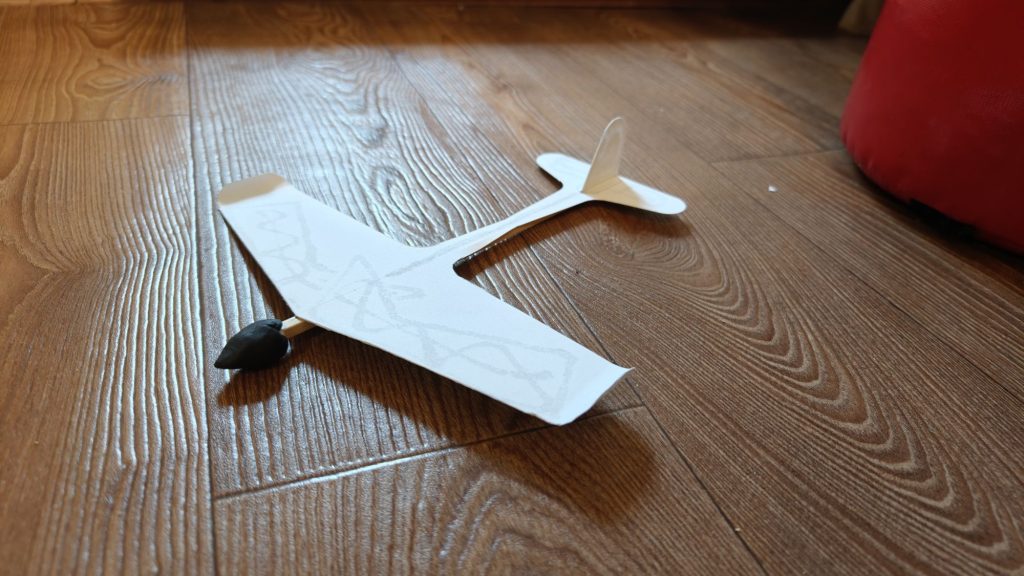
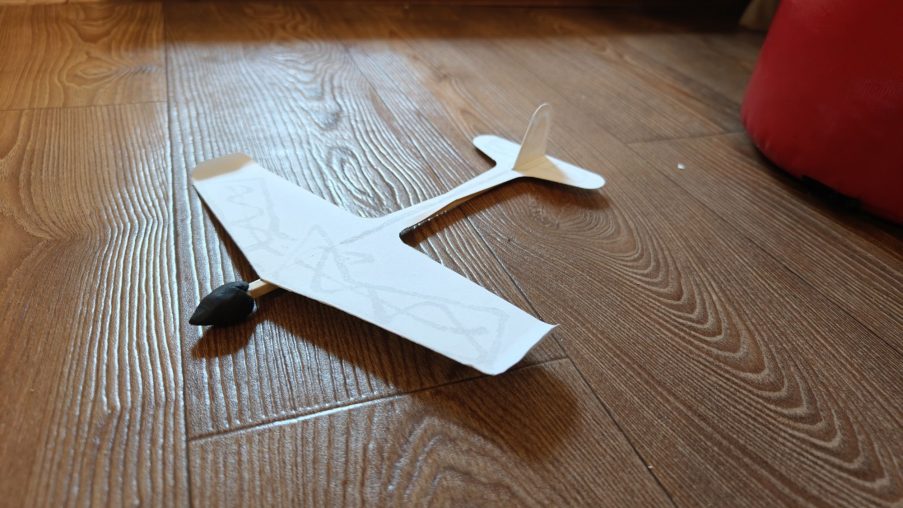
 Written by
 1)What you need: 200 gsm watercolor paper, any suitable PVA glue, a round coin, a wooden skewer, 2 to 4 grams of modeling clay.
2)Make the template following the drawing, making sure to include the front tabs, and cut it out.
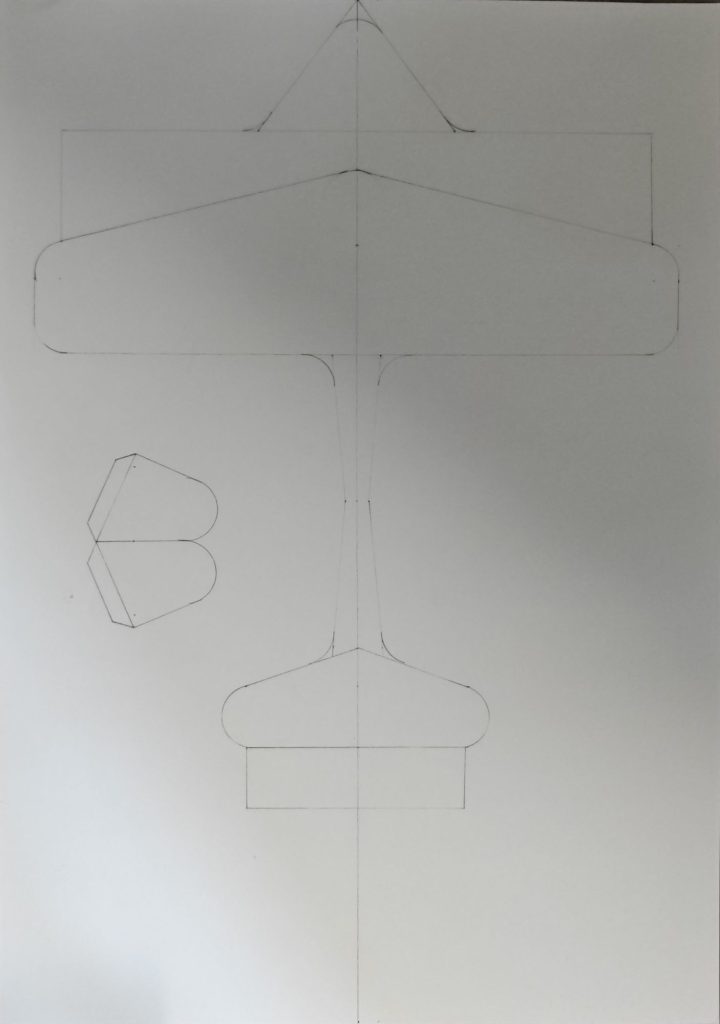
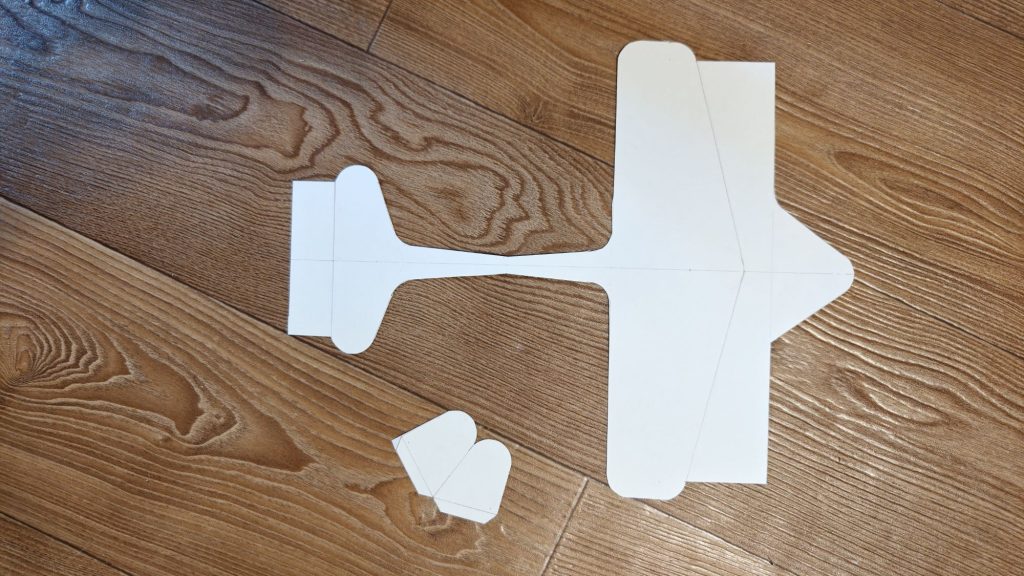
3)Score the fold lines on the leading edge using an empty ballpoint pen or a rounded object.
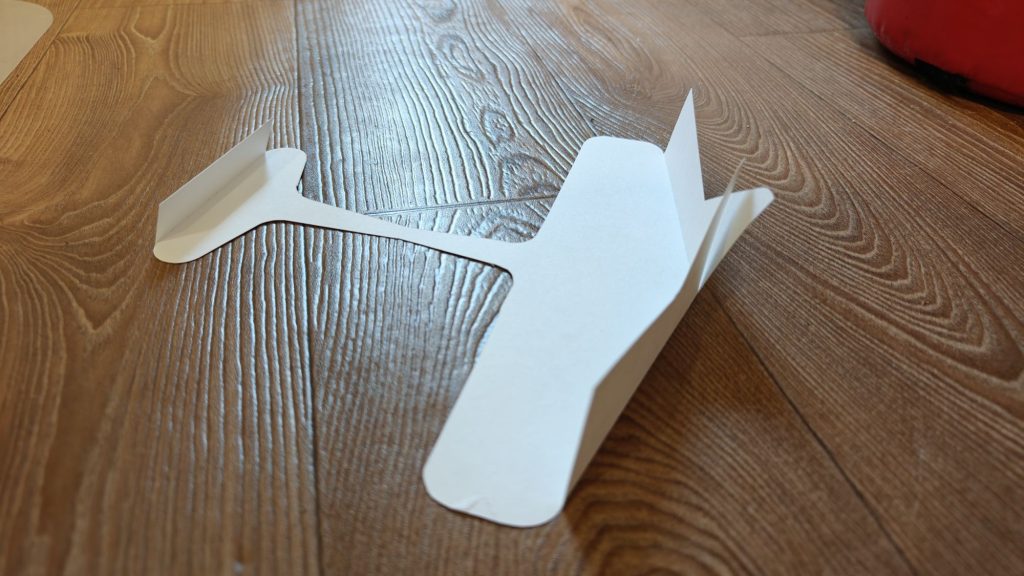
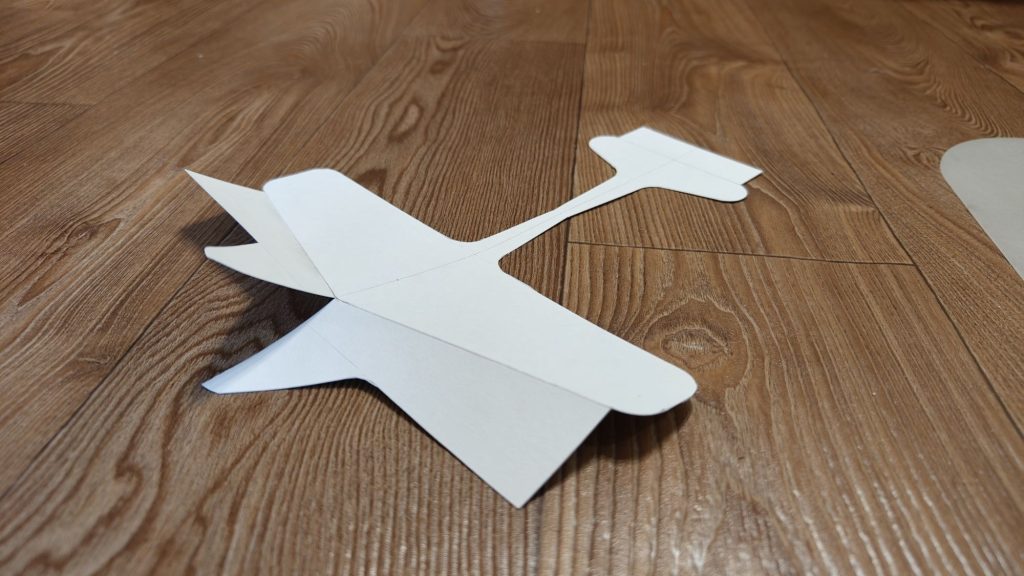
4)Fold the bottom tab, apply glue directly to the wing itself, press it down, and wait.
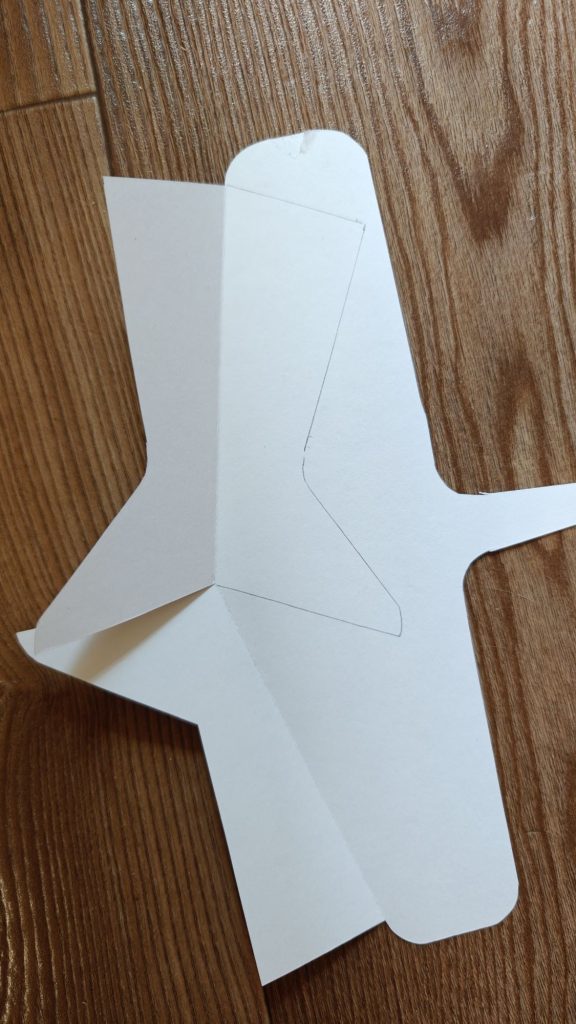
5)Fold the second tab, trace around it, apply glue to the wing, and stick it down.
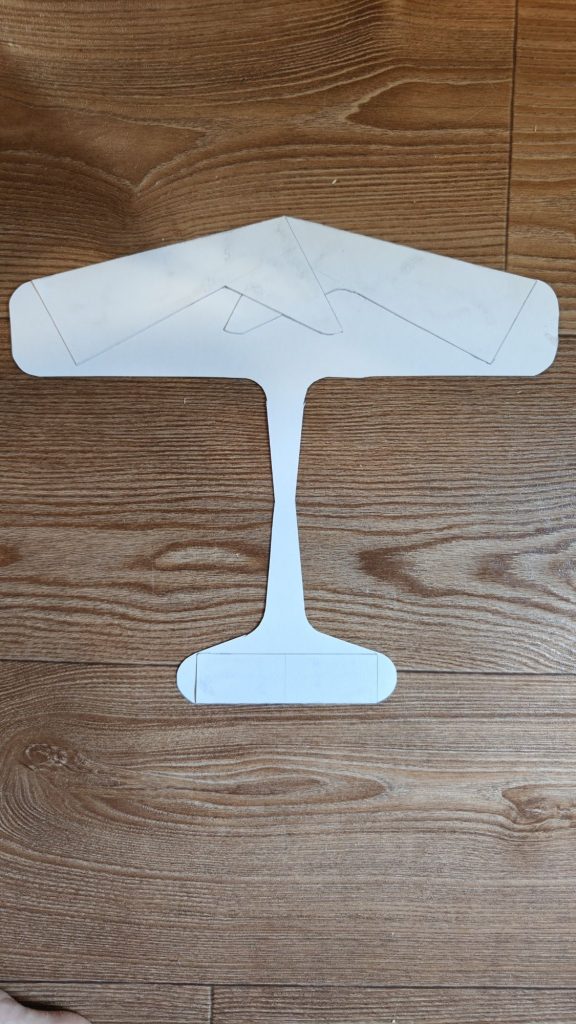
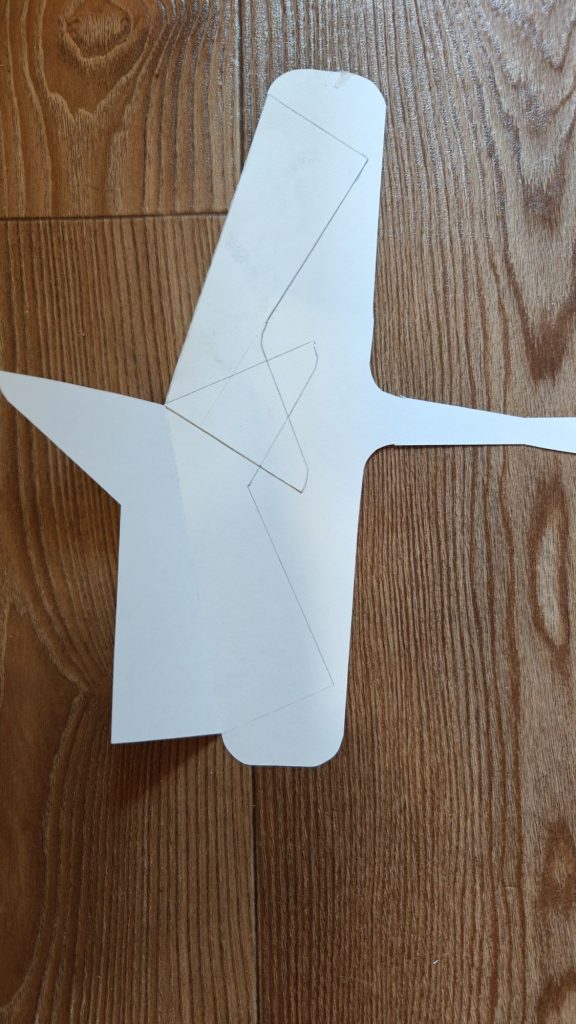
6)Fold the tab on the trailing edge of the stabilizer.
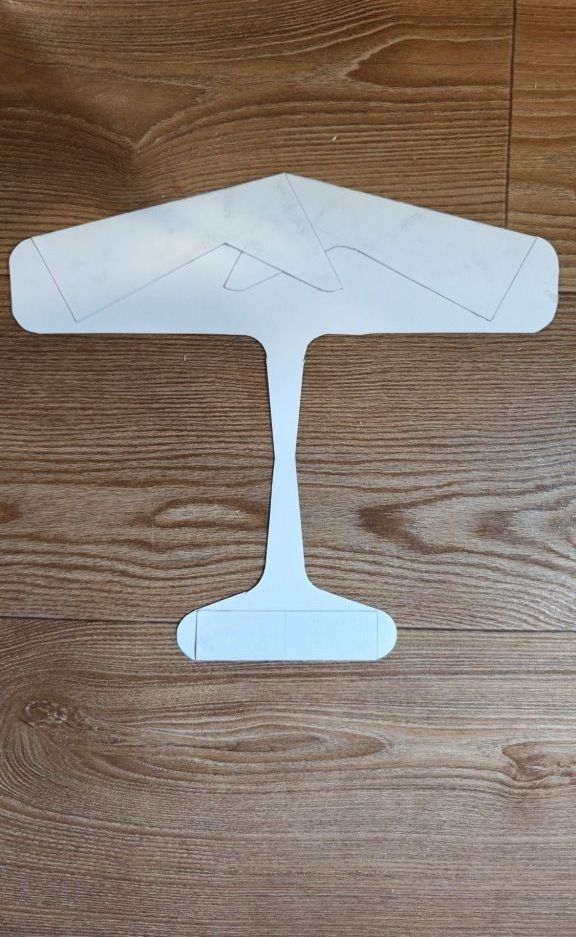
7)Glue the wooden skewer perfectly aligned with the center line on top of the plane.
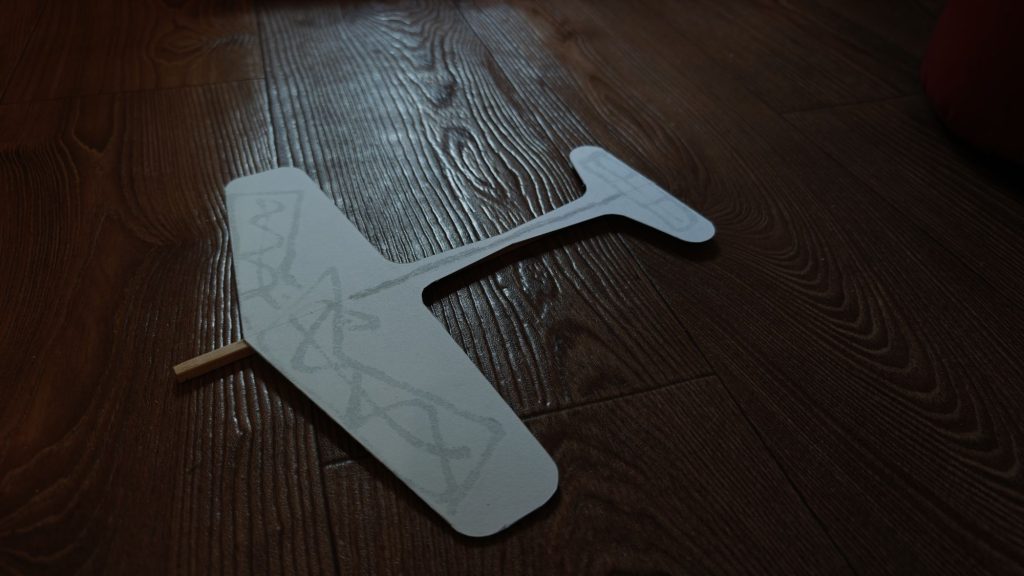
8)Cut out the vertical fin, fold it in half, and glue it tightly with the folded side facing forward.
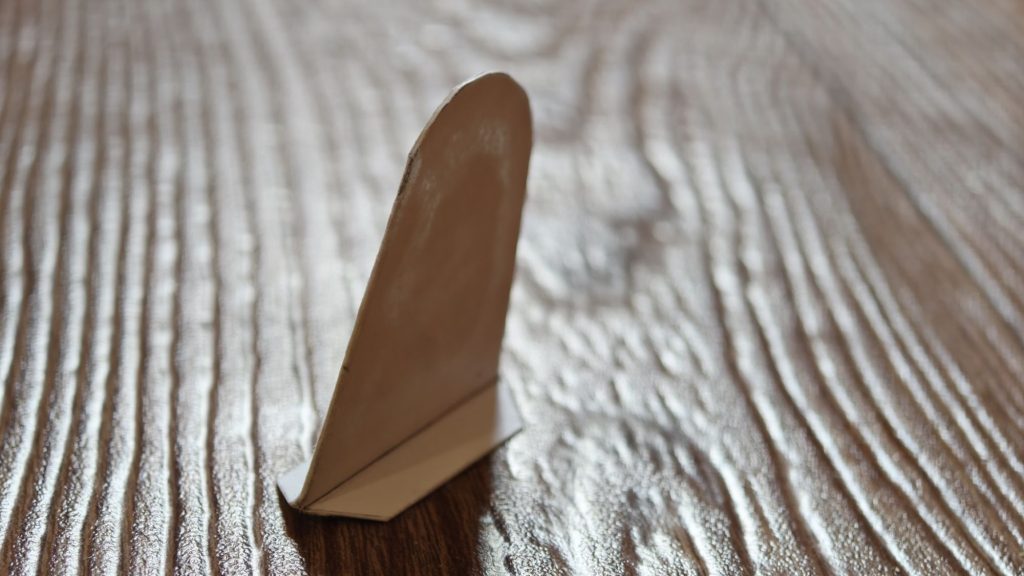
9)Fold out the two tabs and glue the fin perpendicular to both the wooden stick and the fuselage.
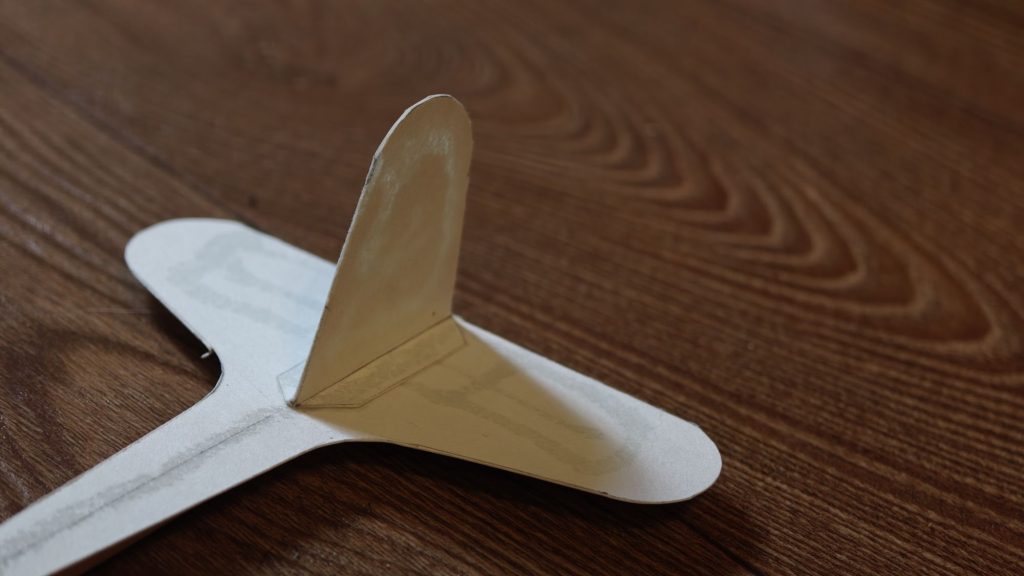
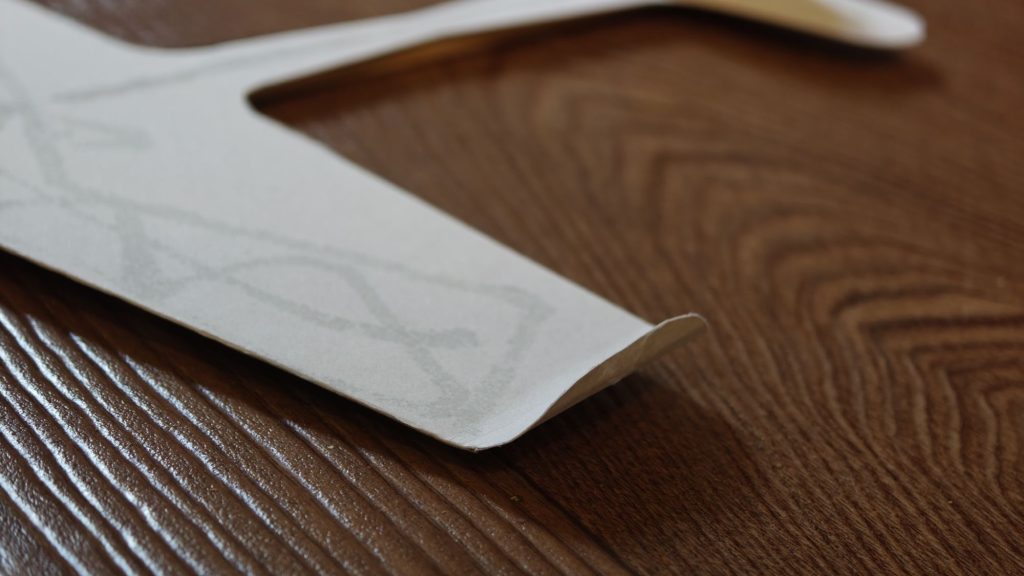
10)Form curved wingtips using a round object about 5 mm in diameter.
11)Cut a 20 by 80 mm paper strip and tightly wrap it with glue around the nose.
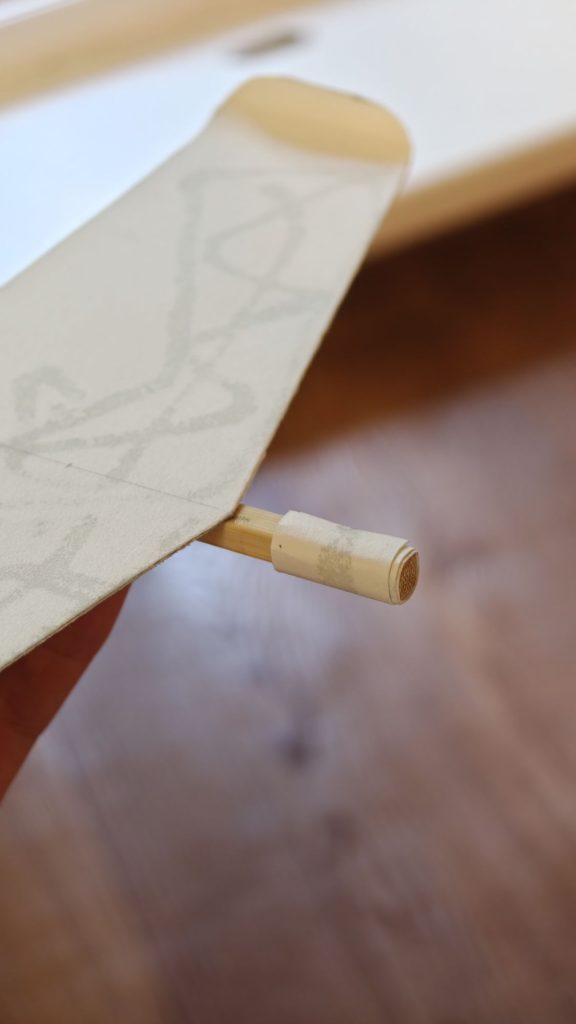
12)Attach the clay to the nose and balance it to achieve a stable flight.