
 Written by
 Materials needed
1)A4 watercolor paper
2)Wooden skewer
3)PVA glue or any paper glue
4)Ruler and set square
5)Pencil
6)Scissors
7)Modeling clay for nose ballast about 2.5 g
Assembly instructions
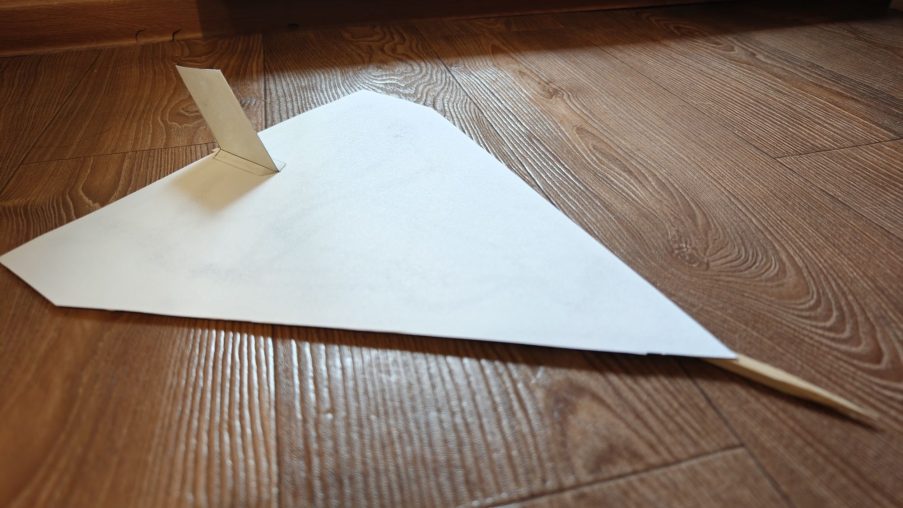
Today we will build a simple flying wing glider out of watercolor paper and a wooden skewer
1)Take a sheet of A4 watercolor paper and draw a straight center line down the length of the sheet with a pencil
2)Draw the wing outline as a large triangle with small straight cuts on the sides along the trailing edge
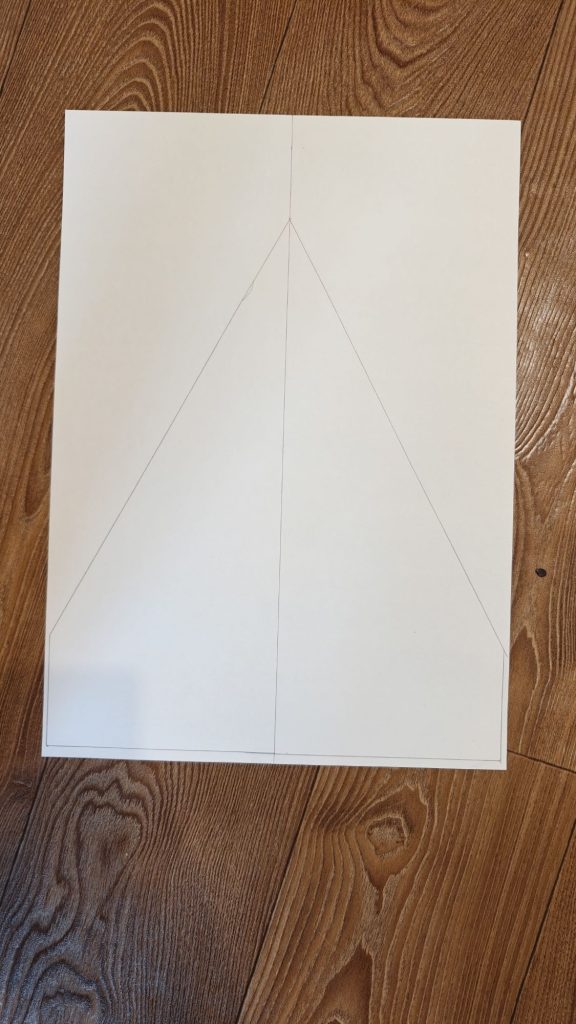
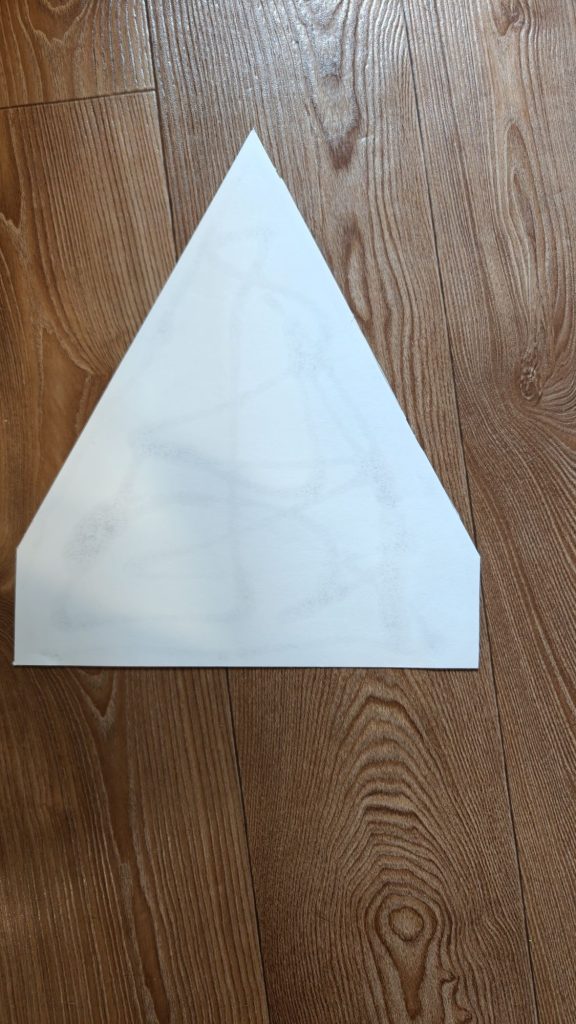
3)Cut out the piece along the line and make a second identical piece for a double-layer structure
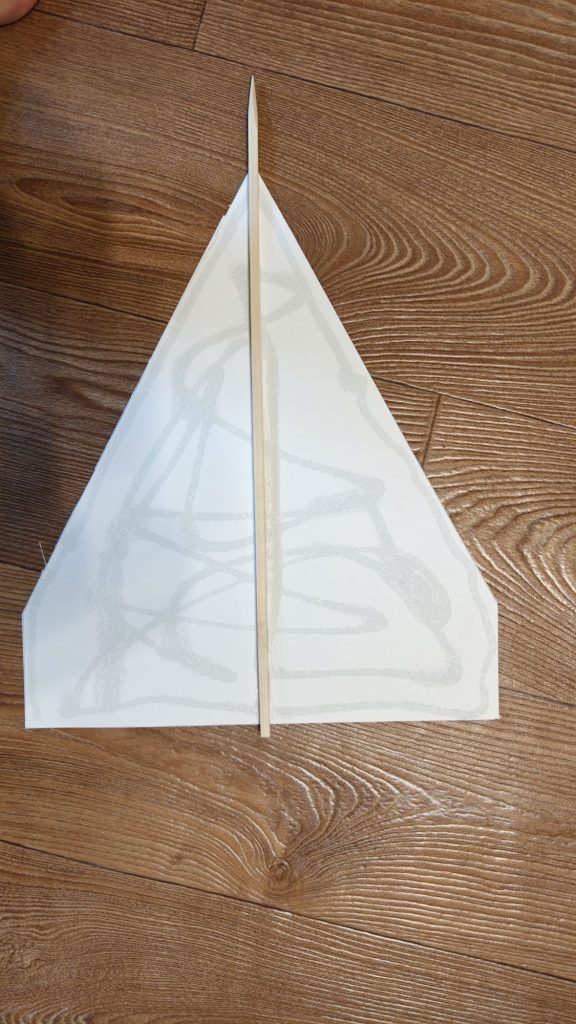
4)Apply glue across the surface of the first paper cutout and glue both paper layers tightly together
5)Glue the long wooden skewer underneath both layers strictly along the center line so that its pointed end sticks out past the nose
6)On a separate piece of paper draw a vertical fin with mounting flaps at the bottom
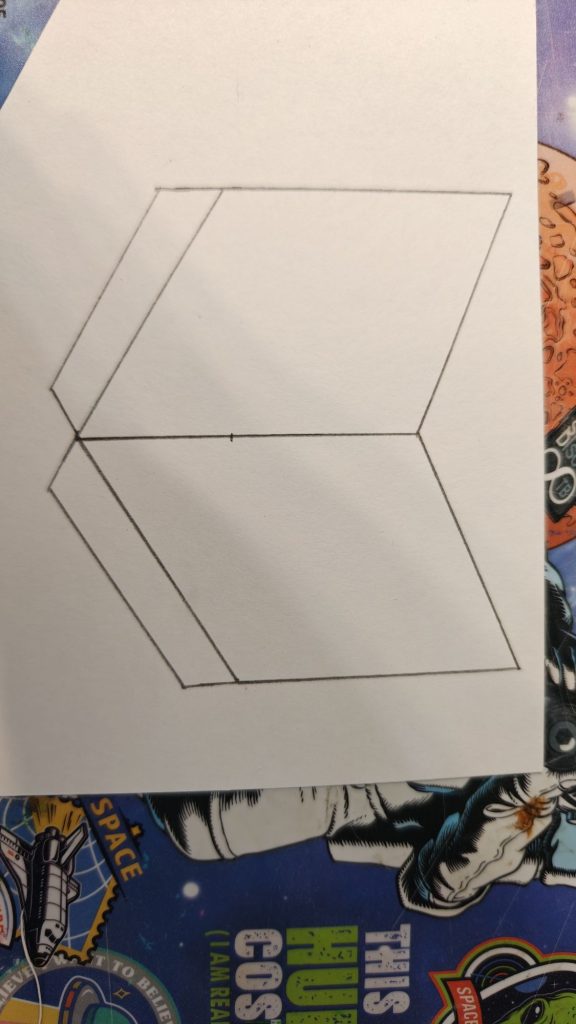
7)Cut out the fin fold the bottom flaps in opposite directions and crease the folds
8)Glue the fin on top of the rear part of the wing strictly aligned with the central axis
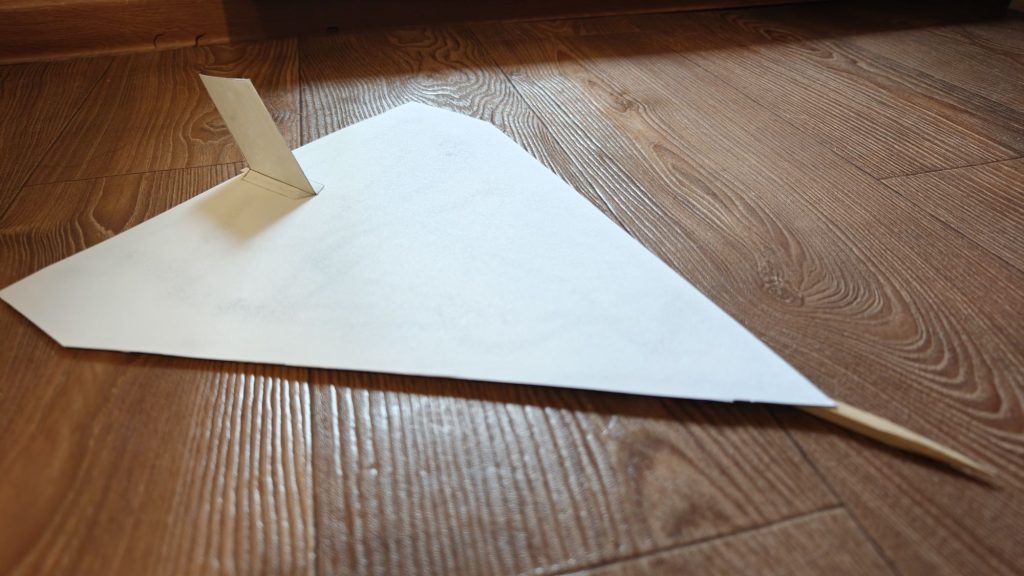
9)Take a piece of clay shape it into a cone and pack it firmly onto the protruding tip of the skewer

10)Let the glue dry completely so the structure does not warp
11)Test launch the model with a gentle throw and adjust the glide adding or removing clay from the nose as needed