 Written by
 How to Make a Simple Flying Wing with Thread Stabilization
What you will need for assembly:
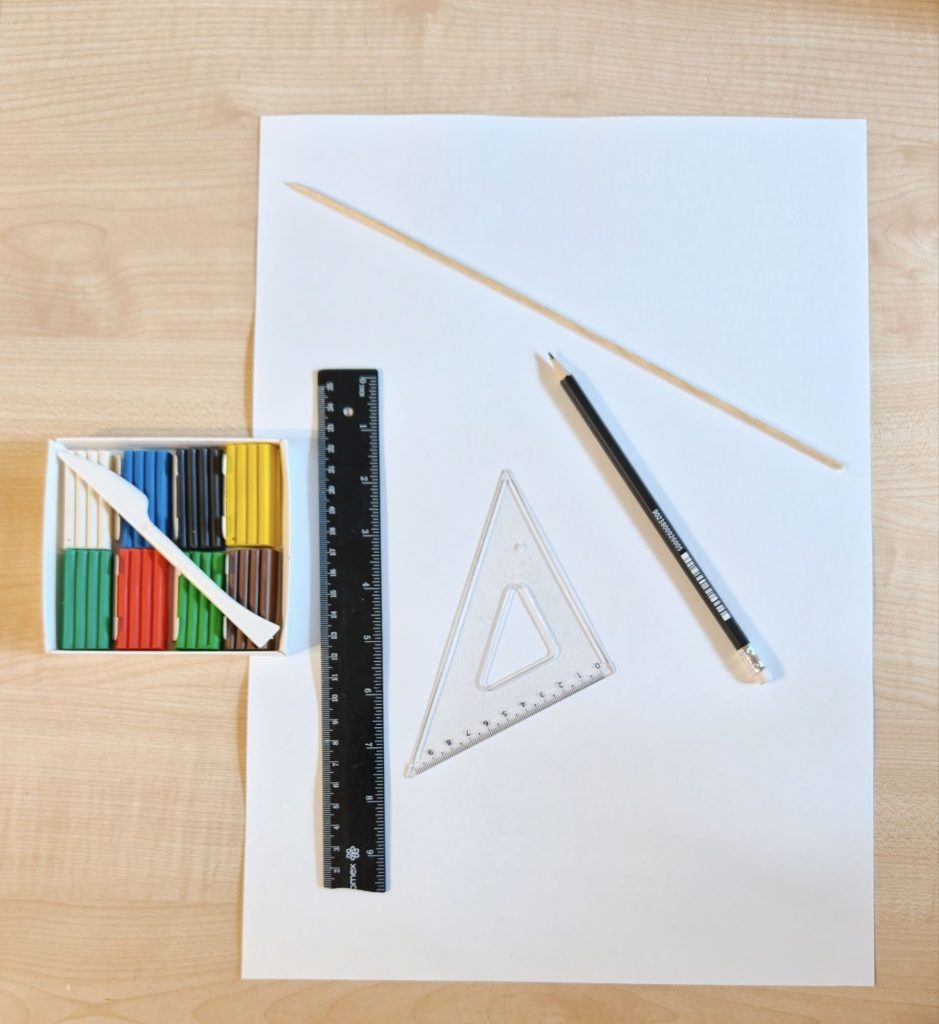
Heavy paper (watercolor paper or poster board)
Square wooden skewer
Thread and a needle
Compass or round plate
Ruler, pencil, utility knife, and scissors
Paper glue (PVA or any similar glue)
Modeling clay for ballast
1)Step-by-step assembly instructions:
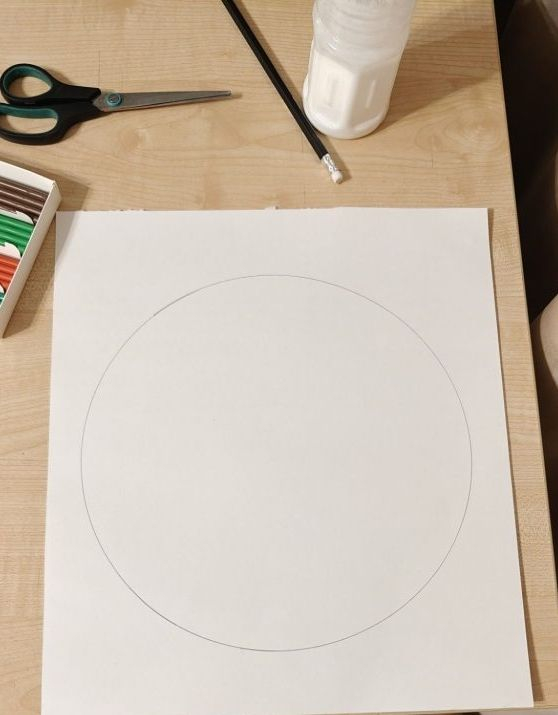
Making and preparing the wing. Take a sheet of heavy paper and measure the diameter of the circle based on the length of your skewer. The calculation is as follows: the skewer should extend forward by about 4 cm (for the nose wrapping and ballast), and at the rear by about 10 mm.
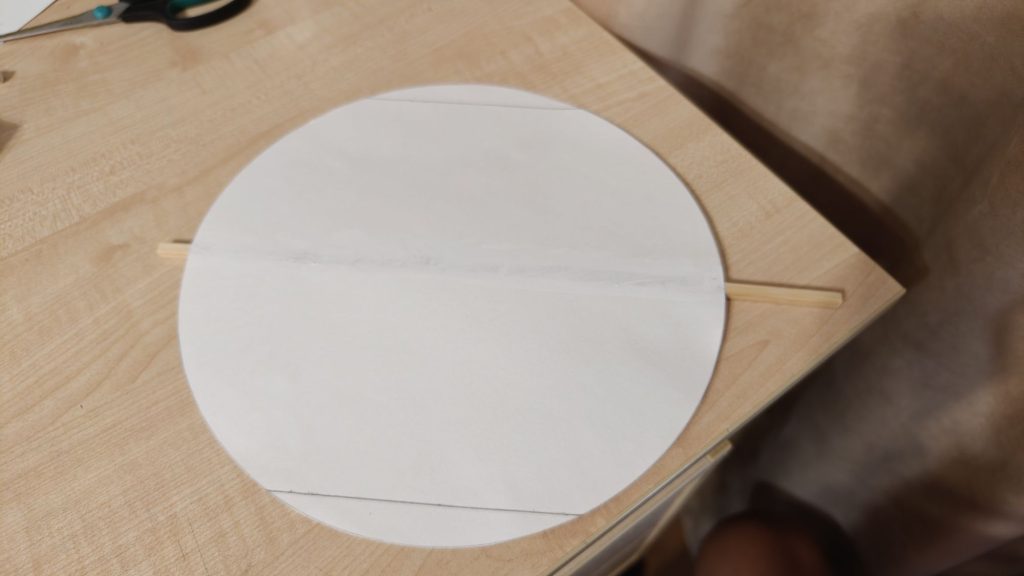
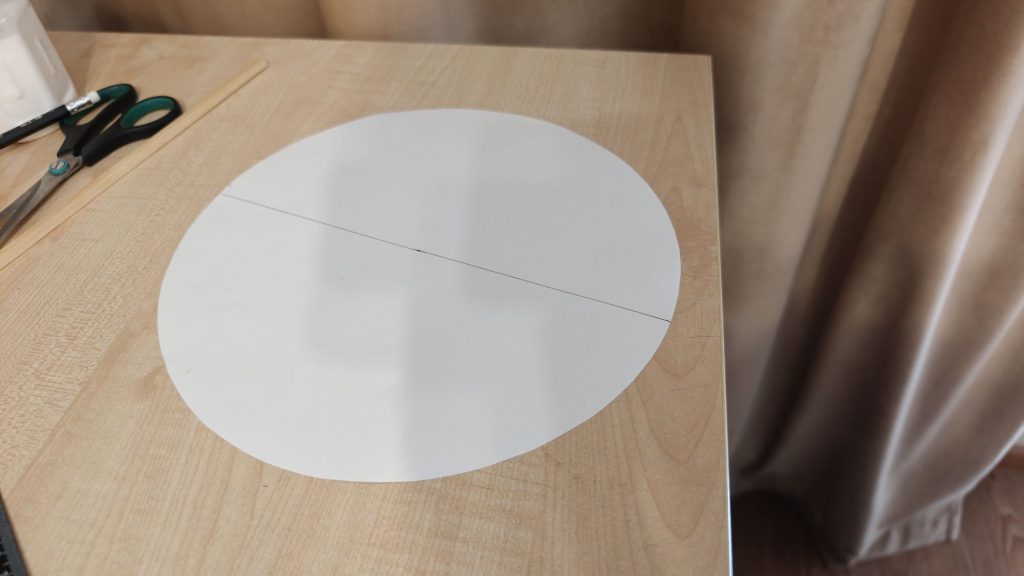
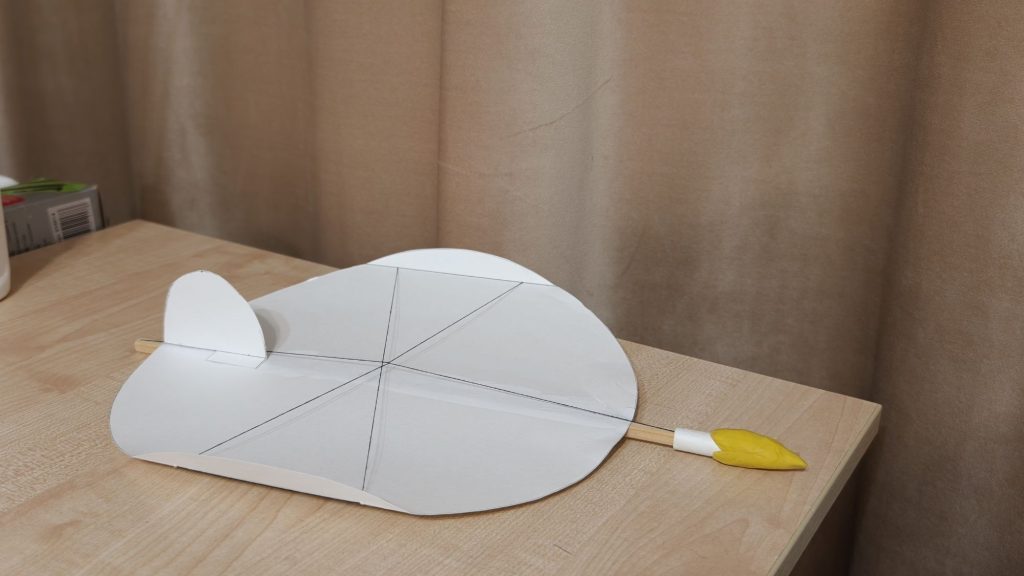
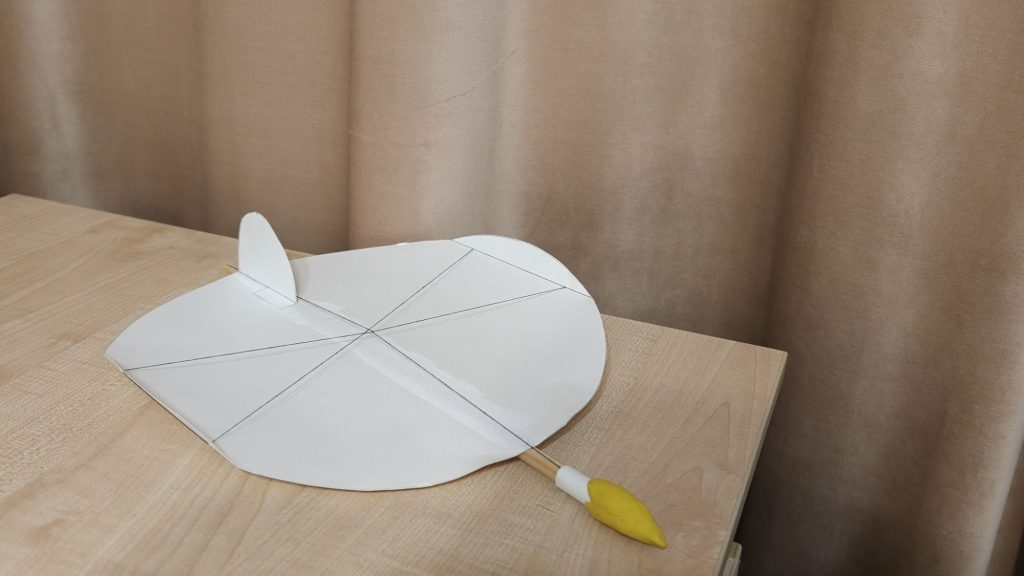
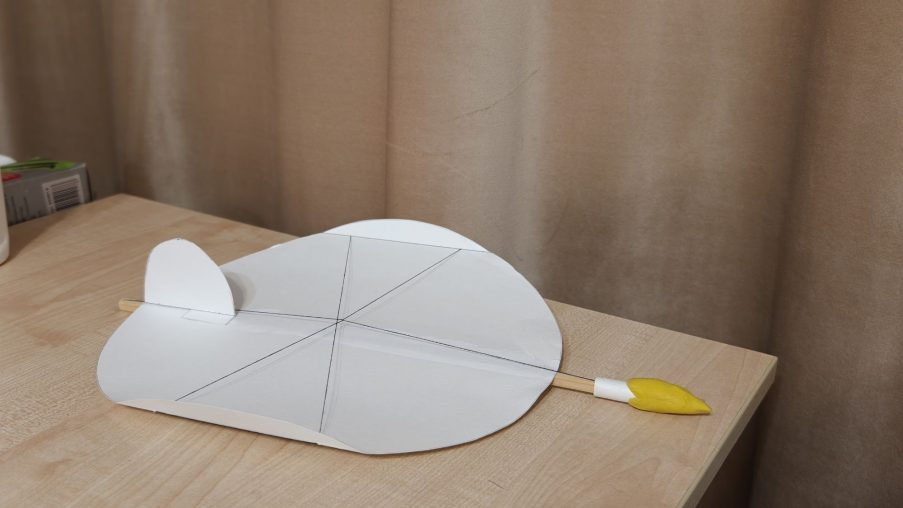
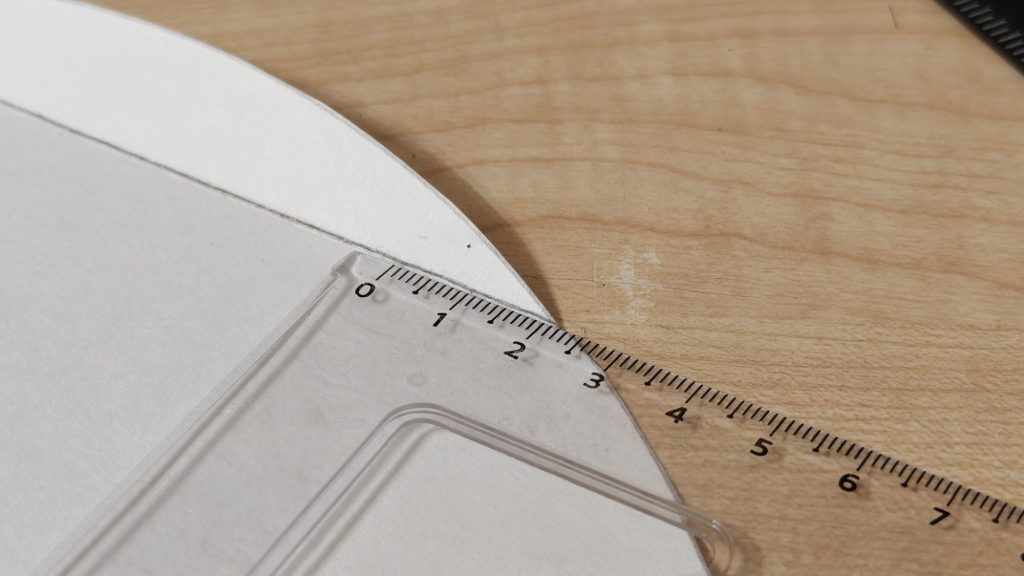
Assembling the base and profiling. Glue the cut circle along the centerline to the square skewer. From the front and rear edges of the disc, measure about 1.5 cm and draw straight lines perpendicular to the central skewer. Make a smooth, light bend in the paper along these lines.
Installing the thread bracing.
Step back about 1.5–2 cm from the start of the bend and pierce holes using a needle. Thread the string crosswise. Make a small slit on the front tip of the skewer with a utility knife, insert one end of the thread into it, and seal it with glue. To secure this joint firmly, wrap the nose part of the skewer tightly with a strip of watercolor paper (about 10 cm long), coating it with glue. Make a similar slit on the rear end of the skewer, insert the second end of the thread, and adjust the tension. The tension should be moderate: not too loose, so the wing doesn’t wobble in the airflow, but not over-tightened, so the disc doesn’t warp into an arc.
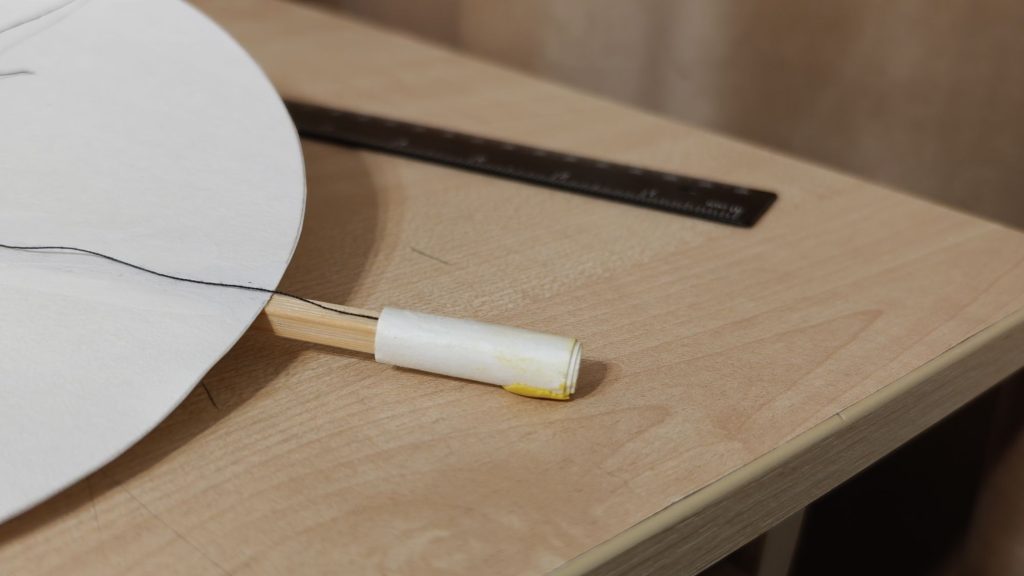
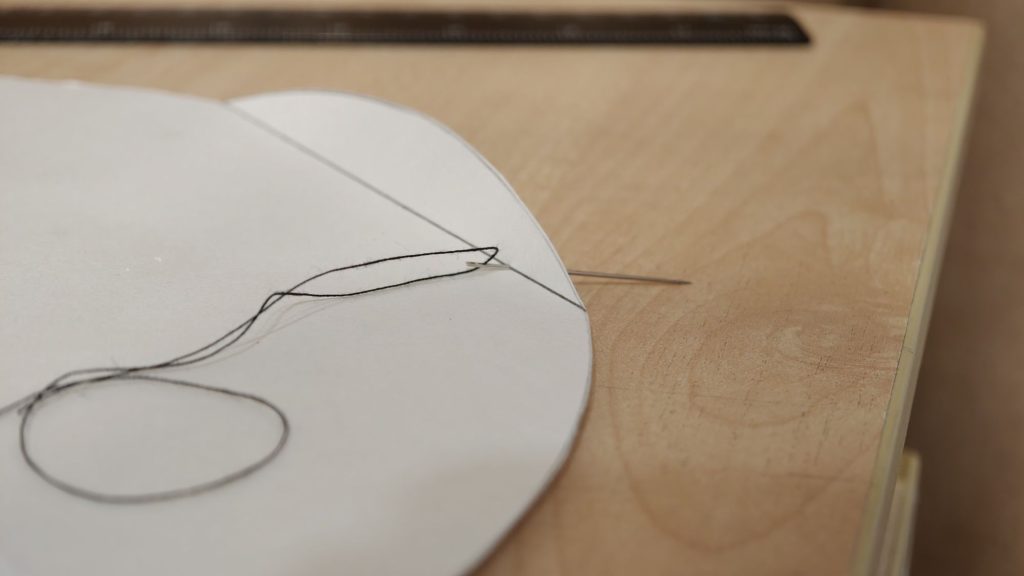
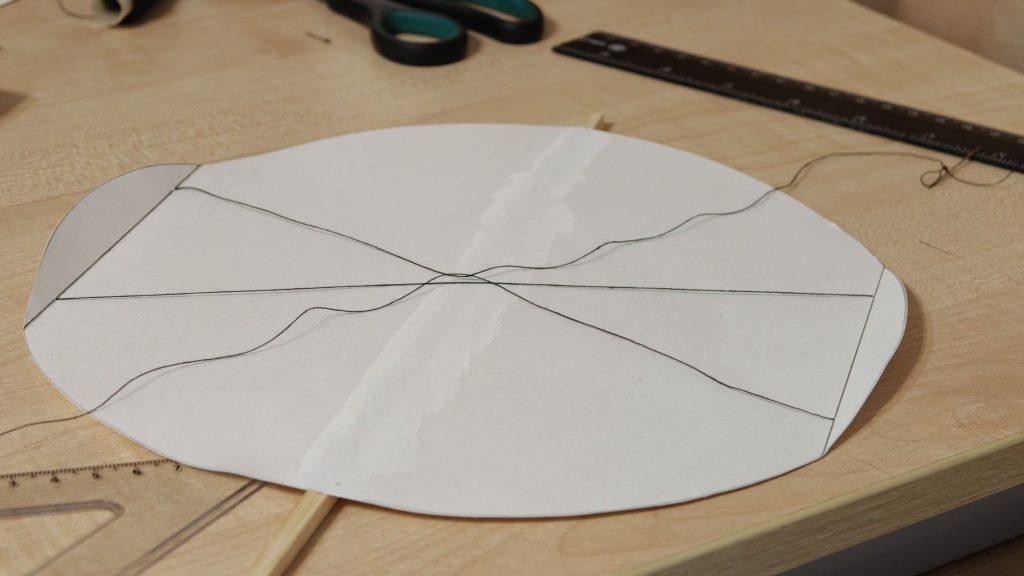
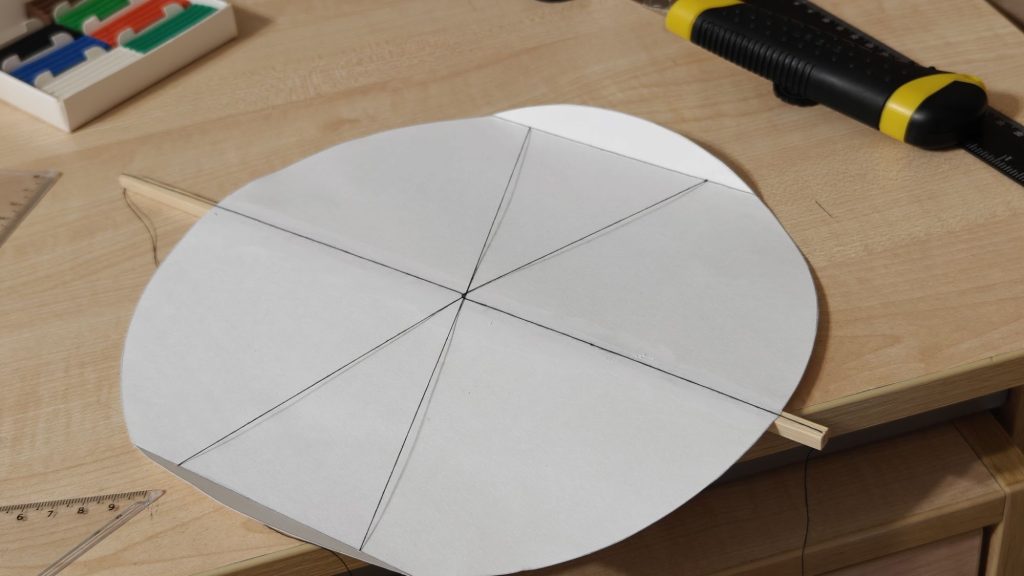
Installing the fin. Cut an oval or semi-circular fin from leftover paper scraps. Make a vertical slit in the middle of the lower part of the fin and bend the resulting tabs in opposite directions (one to the left, the other to the right). This will provide a flat, reliable surface for attachment. Glue the fin at the rear, strictly centered and perpendicular to the skewer, so the glider doesn’t veer off to the side during flight.
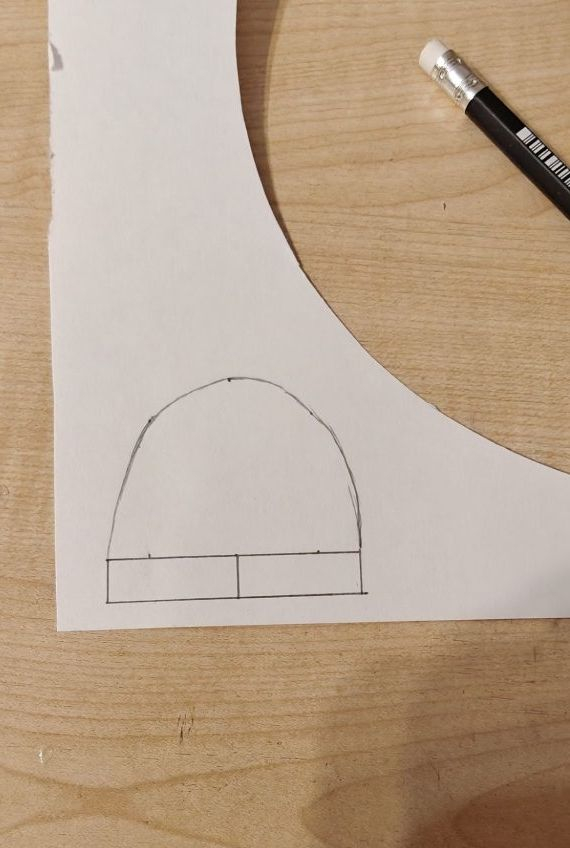
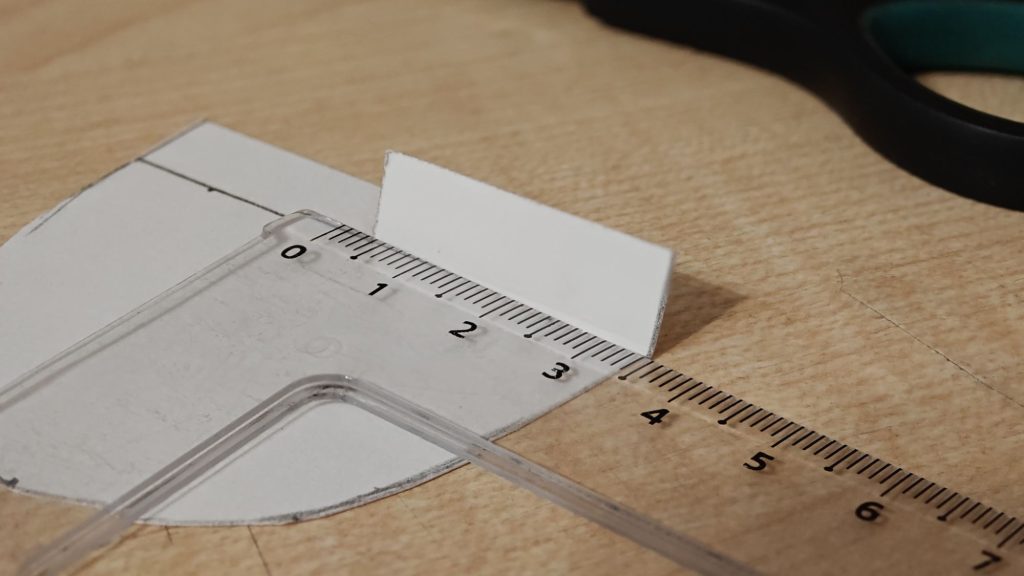
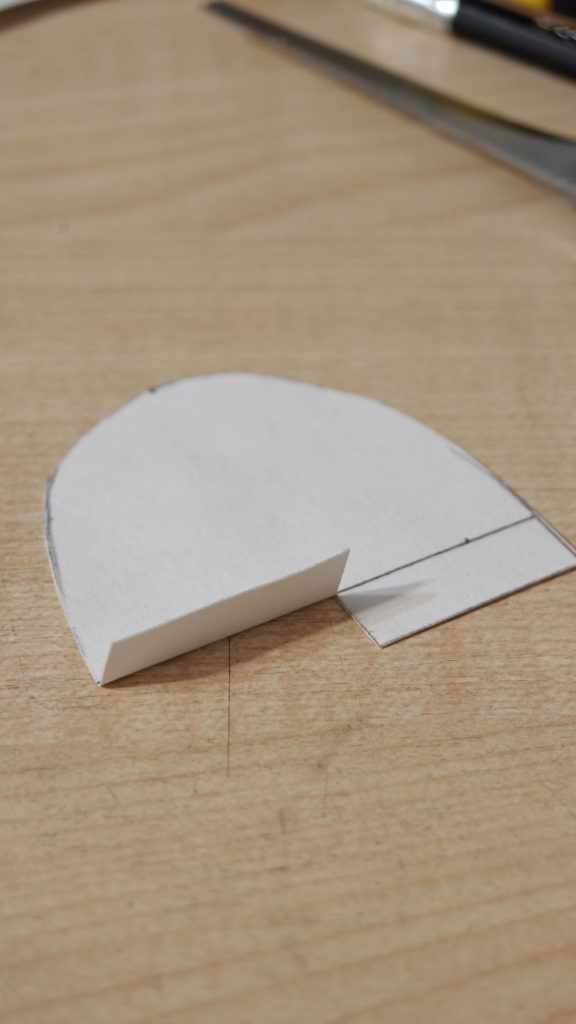
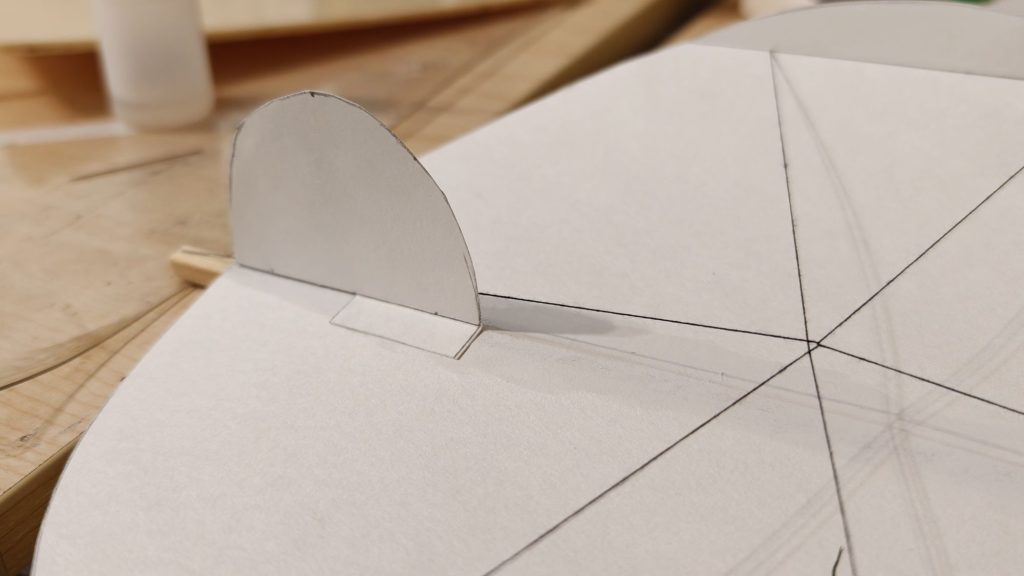
Balancing and flight tuning. Apply modeling clay over the paper wrapping on the nose. You will need about half of a standard block (a piece about 2.5 cm long). Shape it into a streamlined nose cone. Perform test launches. If the model pitches up and stalls onto its tail during flight, add a little more clay to the nose. Adjust the weight until the wing glides smoothly and straight.