
 Written by
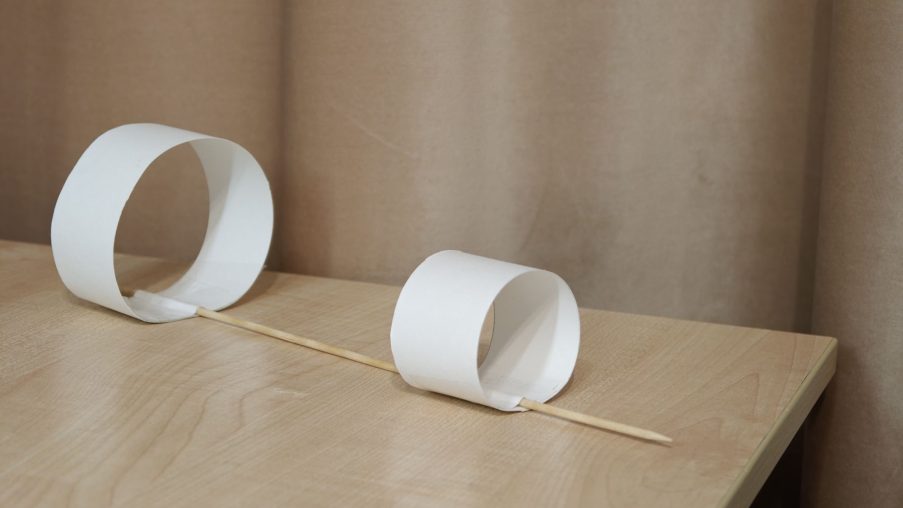
 It may not look like a traditional paper airplane, but it flies surprisingly straight and far. The best part is that you can build this model in just 10–15 minutes using items you probably already have at home.
Materials needed:
Heavy paper (watercolor paper or poster board). Regular printer paper is too soft and the rings will buckle;
A long wooden skewer (a standard kitchen skewer works fine);
PVA glue or any paper glue;
A small piece of modeling clay;
A ruler, pencil, and scissors.
Step 1. Cut the paper strips
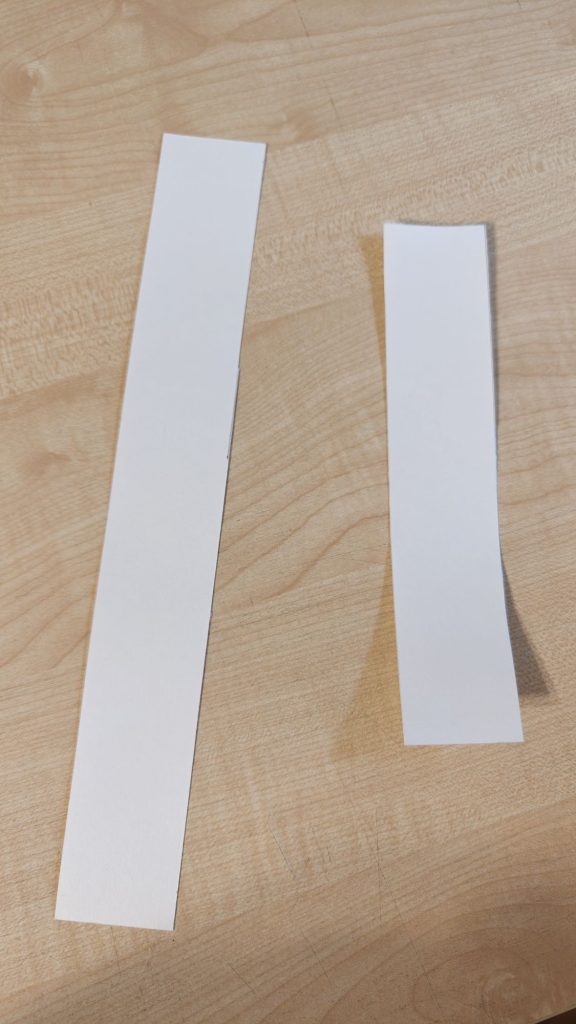
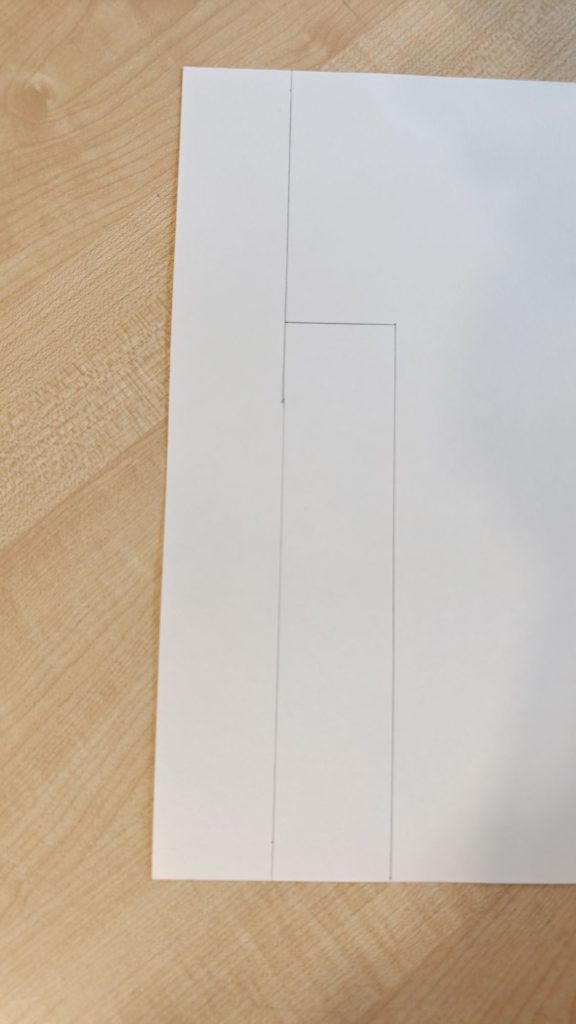
Mark two strips of equal width on the sheet, about 3 cm each. However, their lengths should be different:
A long strip (about 24 cm) for the tail ring;
A short strip (about 14 cm) for the nose ring.
Cut them out along the lines.
Step 2. Curl and glue the rings
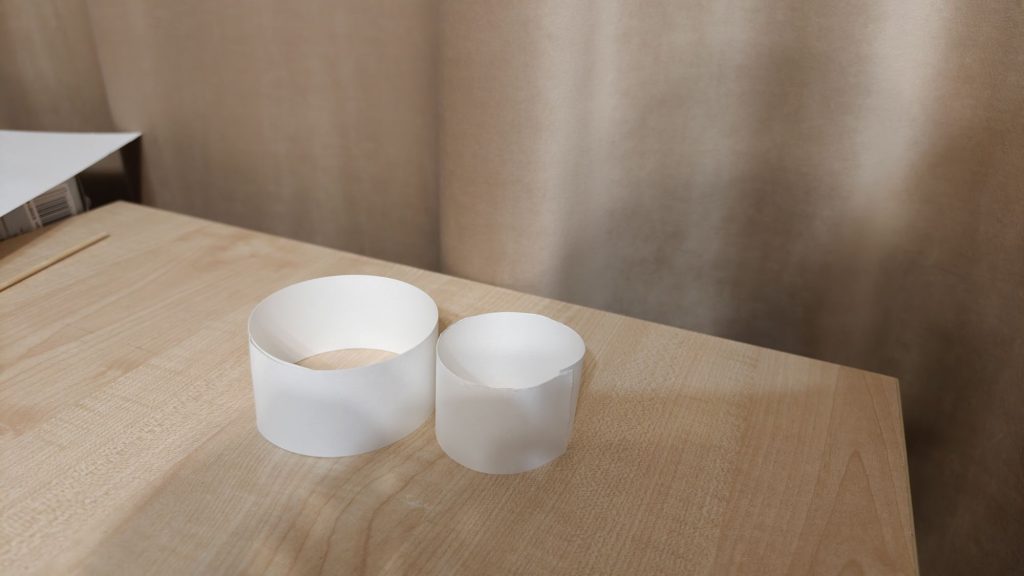
To help the thick paper curl into a neat circle without creasing, pre-curl it first. Place the end of a strip on the table, press a pencil over it, and pull the strip out from underneath while applying pressure. The paper will naturally curl into an arc.
Glue the ends of each strip together with a slight overlap to form two paper rings—one larger and one smaller.
Step 3. Make paper retainers for the skewer
Cut two small pieces from any leftover paper scraps. The exact size isn’t critical as long as they hold securely. Press them against the skewer using a pencil to form a center groove matching the stick’s shape.
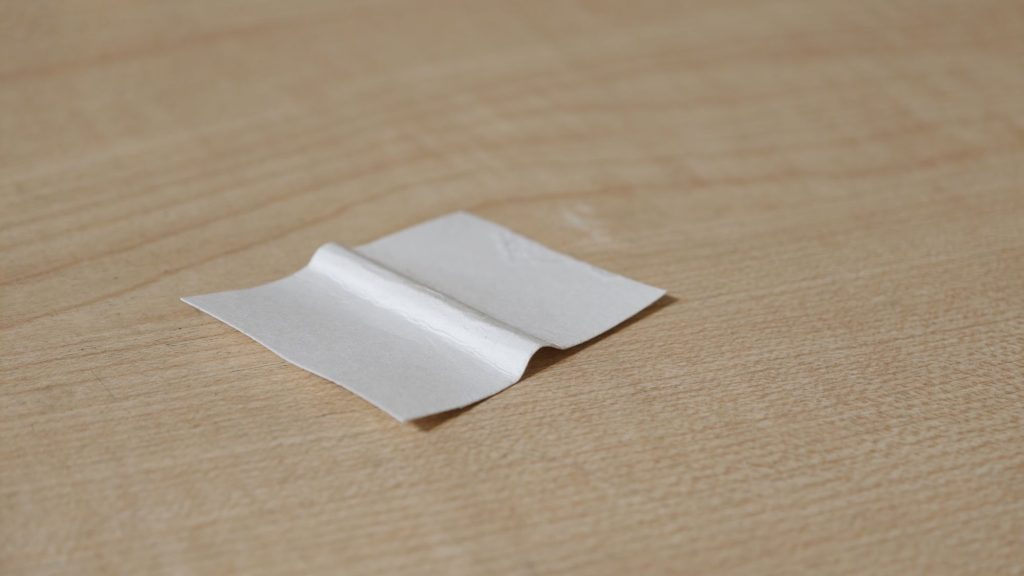
Step 4. Assemble the structure
Apply a dab of glue to the inside seam of the large ring, place the end of the skewer onto it, and cover it with one of the prepared paper retainers. Press firmly with your fingers.
Attach the smaller ring to the front end of the skewer in the exact same way.
While the glue dries, look at the glider from the end. Both rings should align straight relative to each other, without tilting to either side.
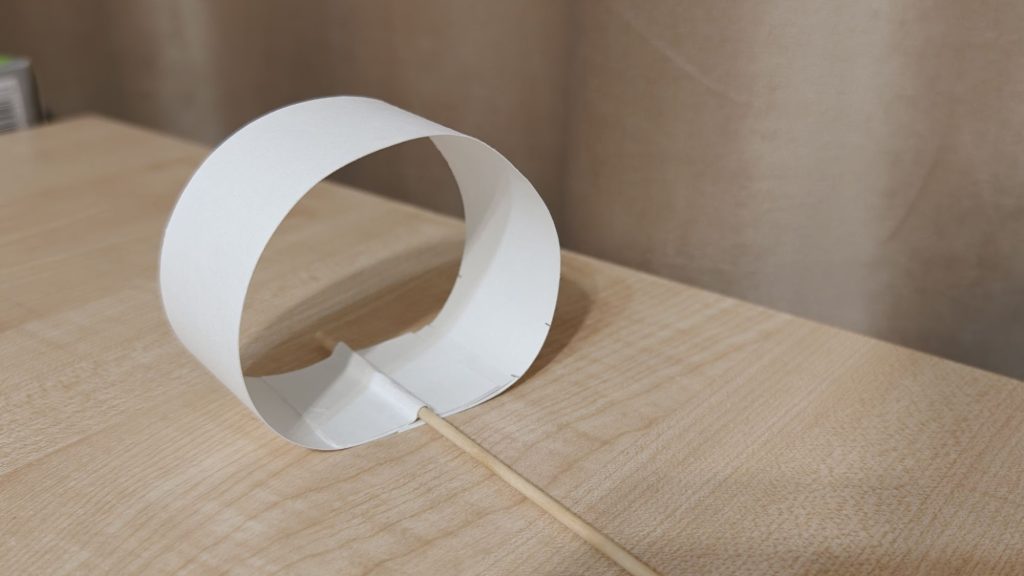
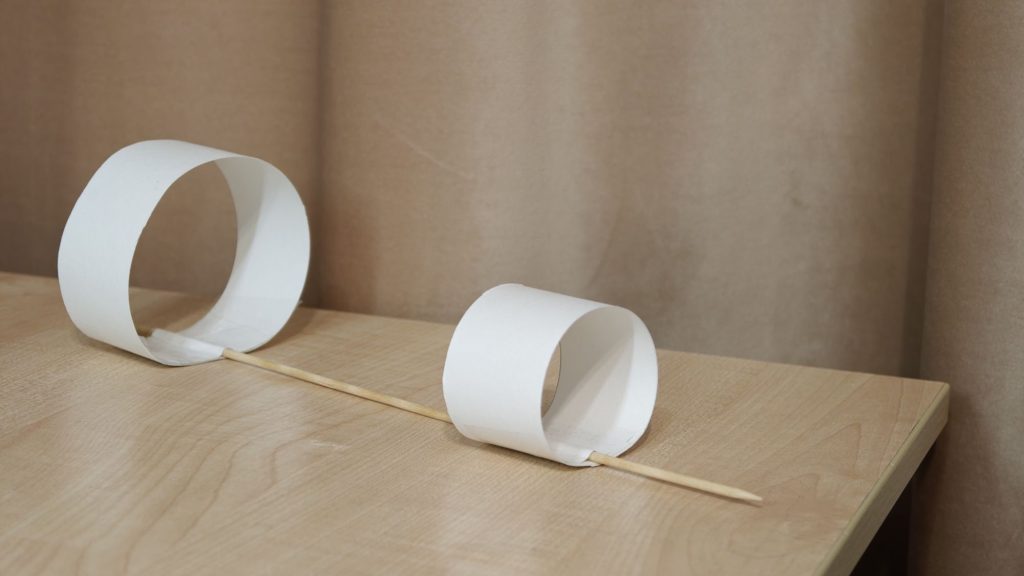
Step 5. Balance and test flight
Without weight on the nose, the glider won’t fly properly and will immediately stall on its tail. Roll a small ball of clay and attach it to the very tip of the skewer at the front.
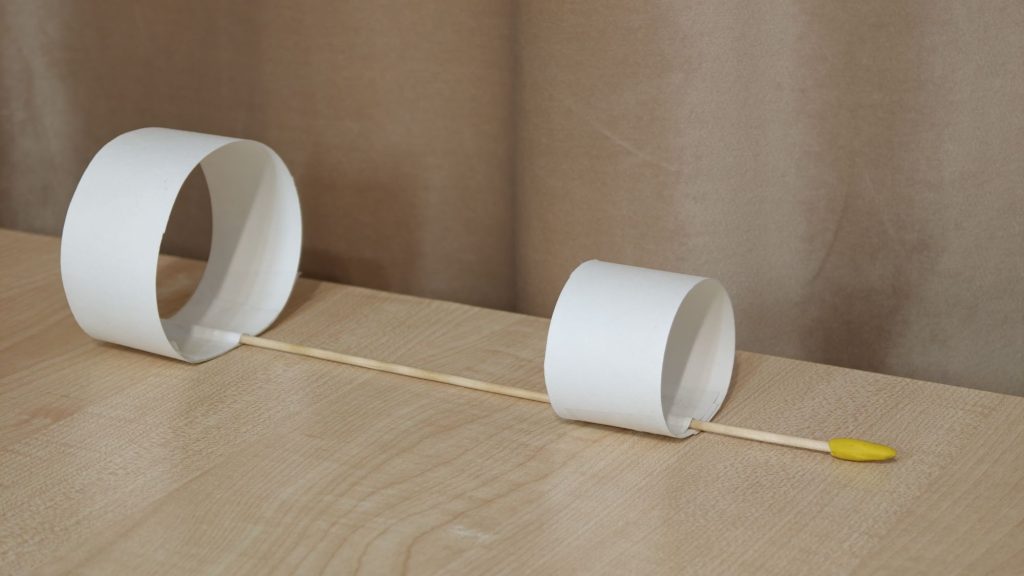
Test launch the glider with a gentle toss:
If it pitches up and falls, add a little more clay to the nose;
If it immediately dives into the ground, pinch off a bit of clay.
Once you find the right amount of clay, the glider will fly smoothly and in a straight line.