
 Written by
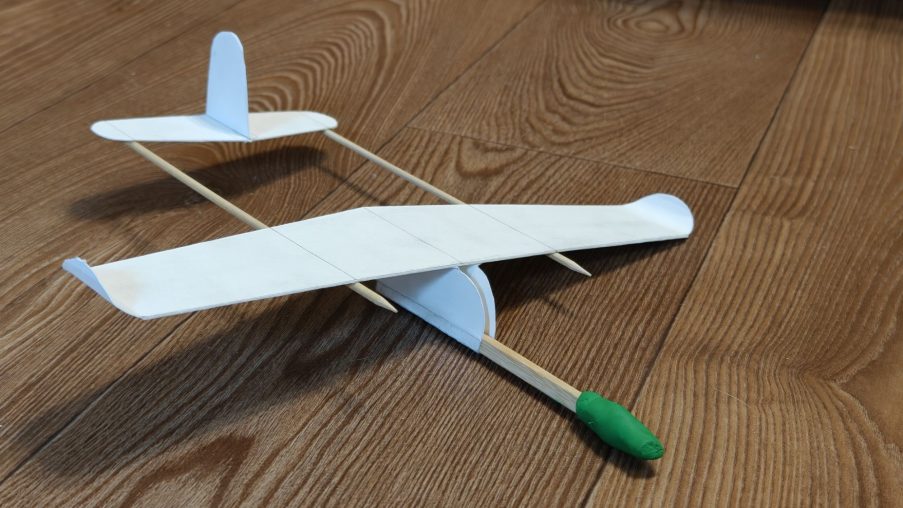
 1)What you need: watercolor paper or heavy drawing paper, PVA glue, two round wooden skewers, one short square skewer, 2 to 4 grams of modeling clay.
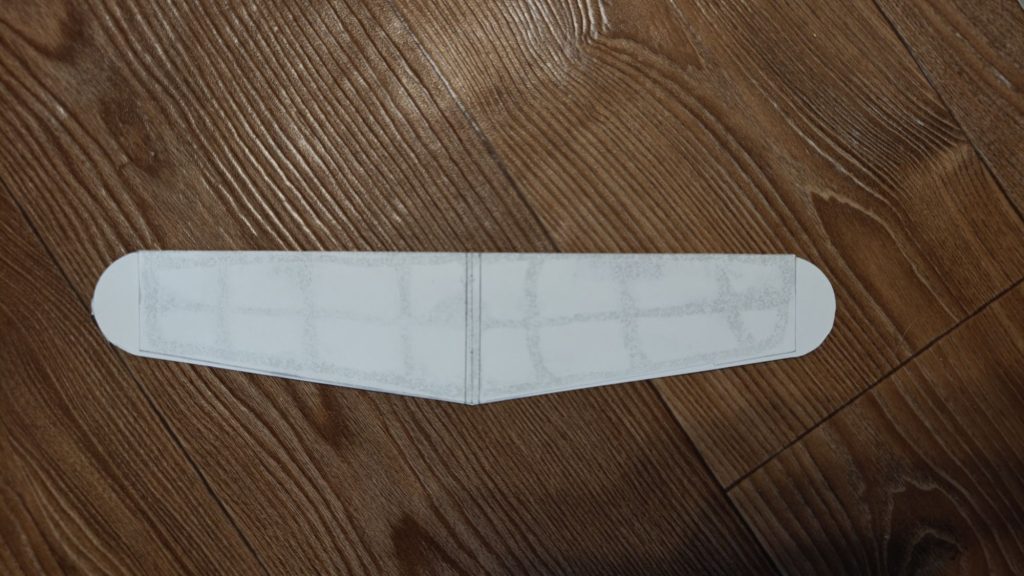
2)Transfer the drawing to paper and cut out the wing with the front tab, fuselage element, stabilizer, and vertical fin.
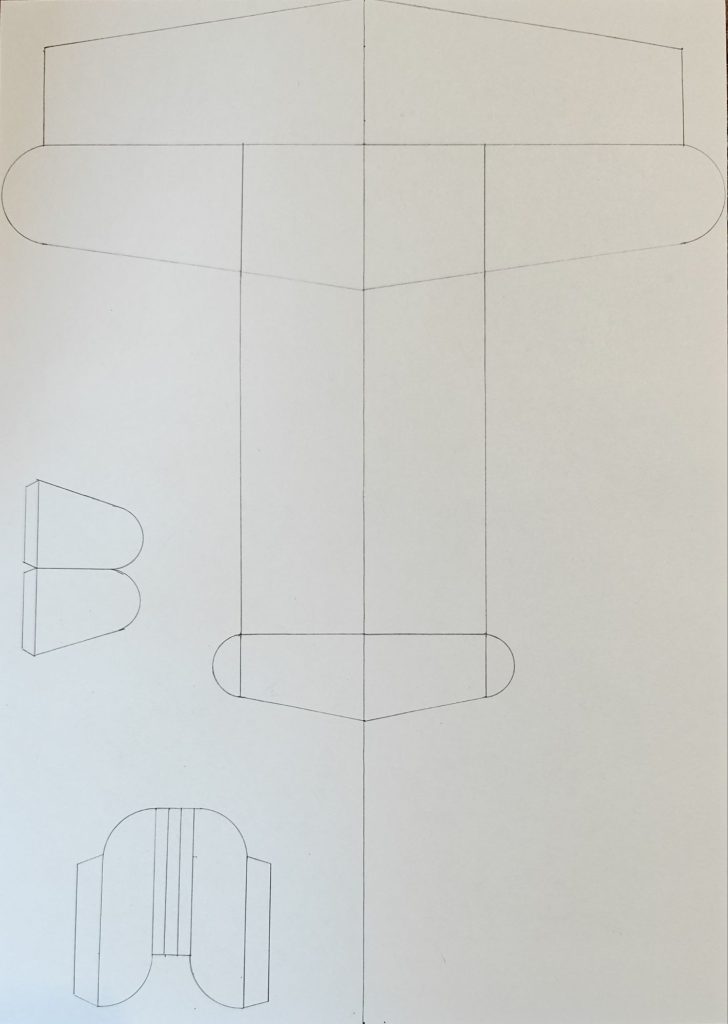
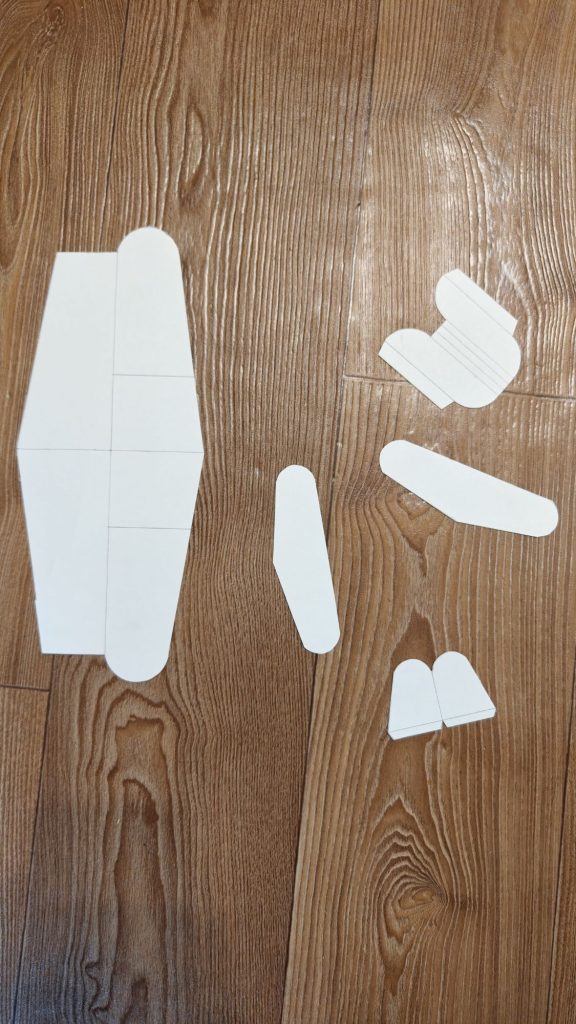
3)Using an empty pen or an object with a rounded tip, score the fold lines on the leading edge of the wing.
4)Score the fold lines on the fuselage part, wrap it around the short square skewer, and glue it together.
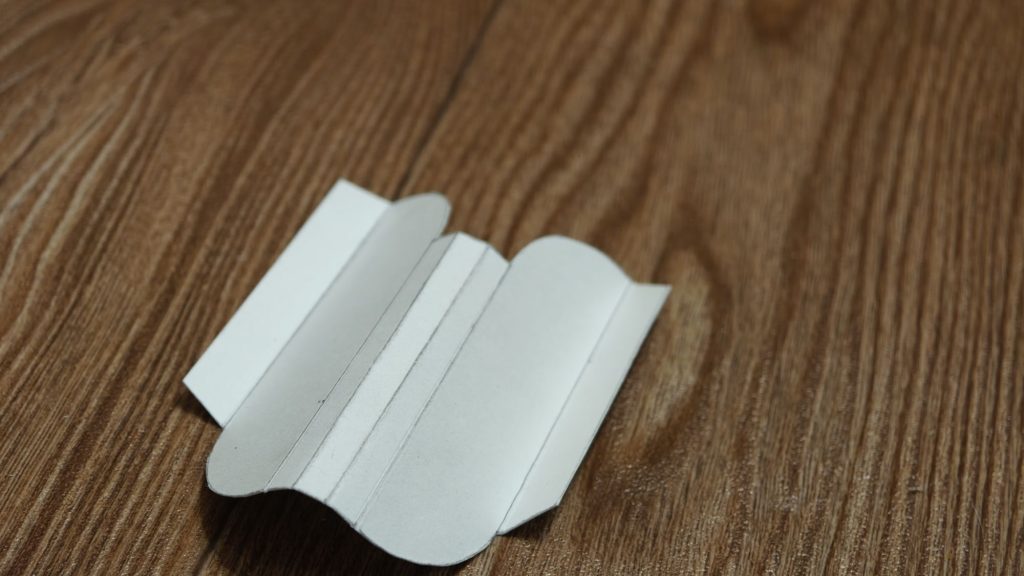
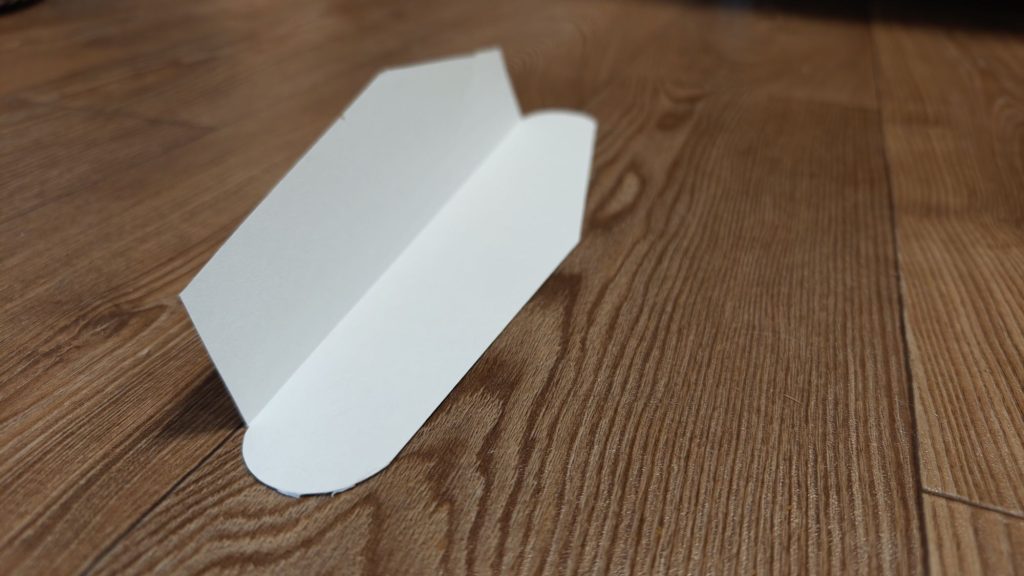
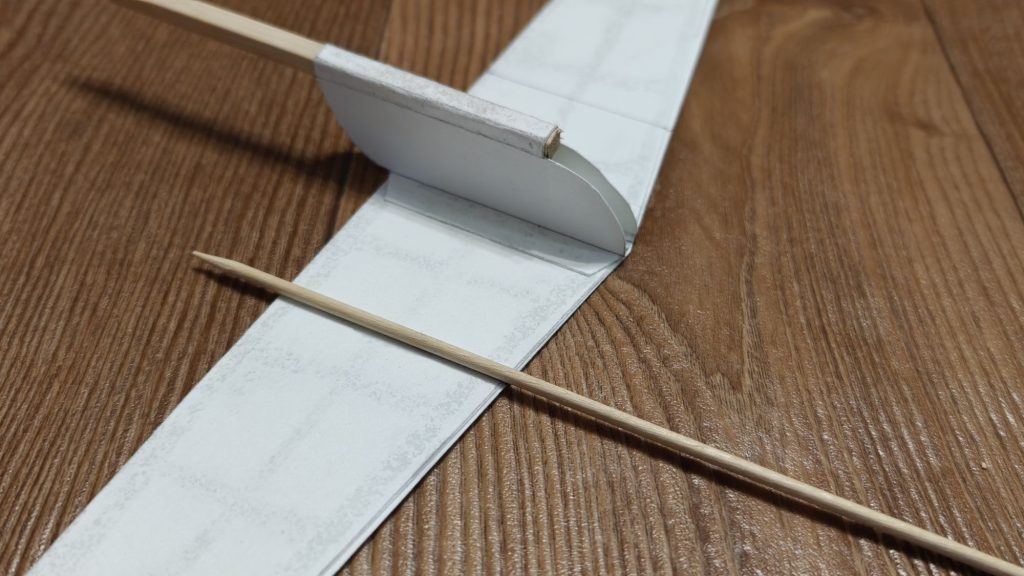
5)Fold the front wing tab down, apply glue, and press it tightly against the underside of the wing.
6)Glue the prepared nose fuselage with the square skewer strictly in the center over the folded tab.
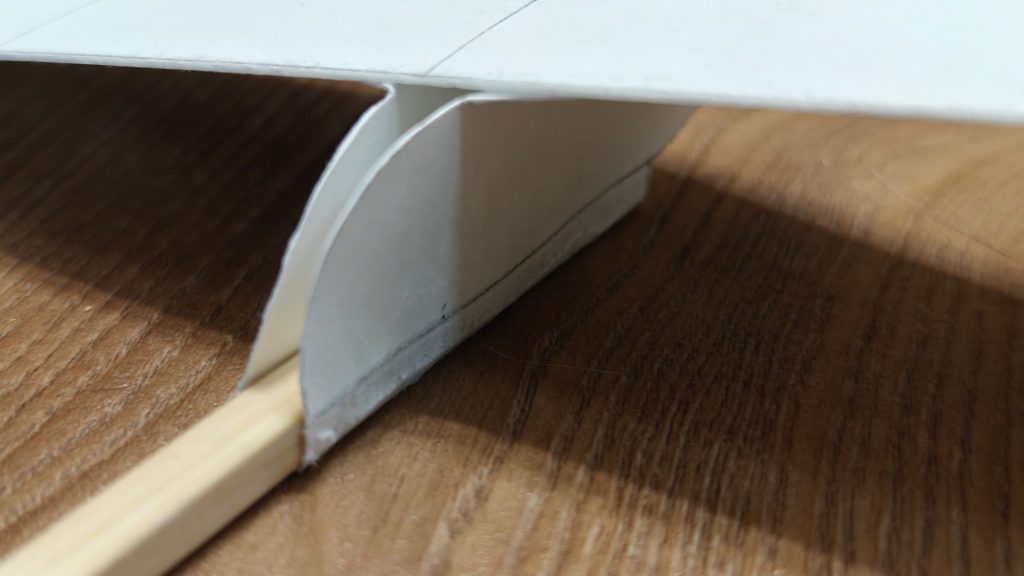
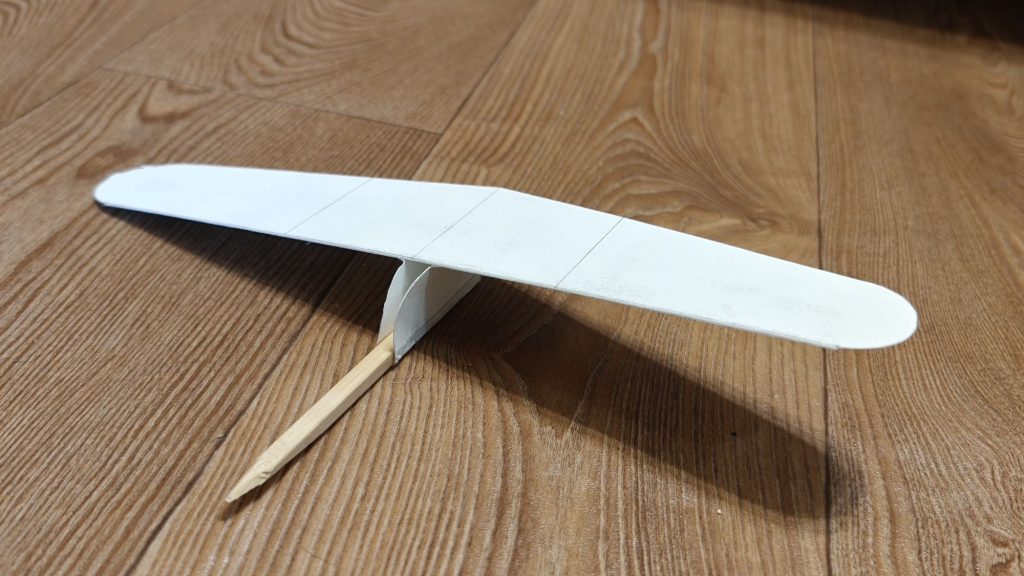
7)Glue two round skewers underneath the sides of the wing, perfectly parallel to each other and aligned with the central axis.
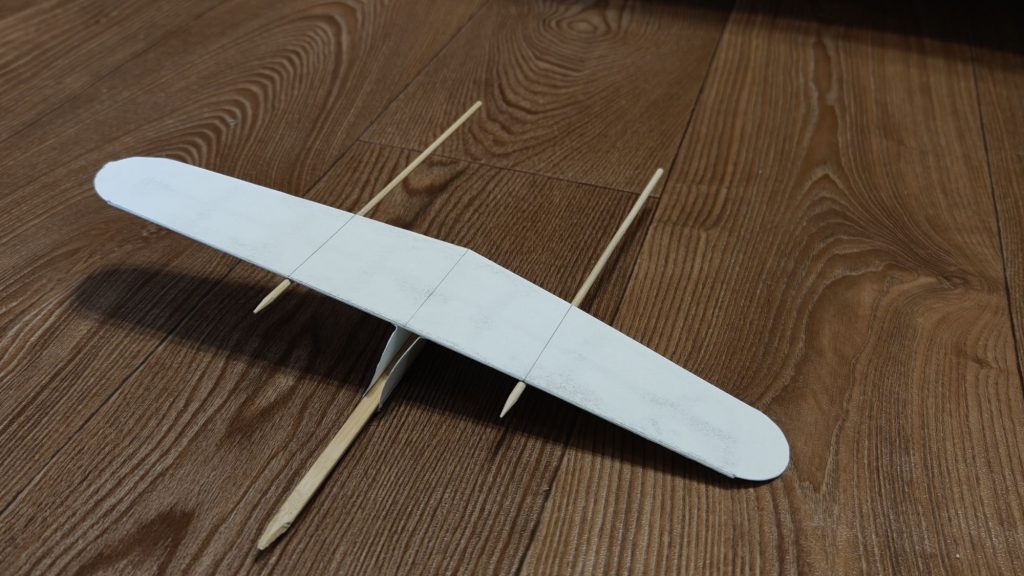
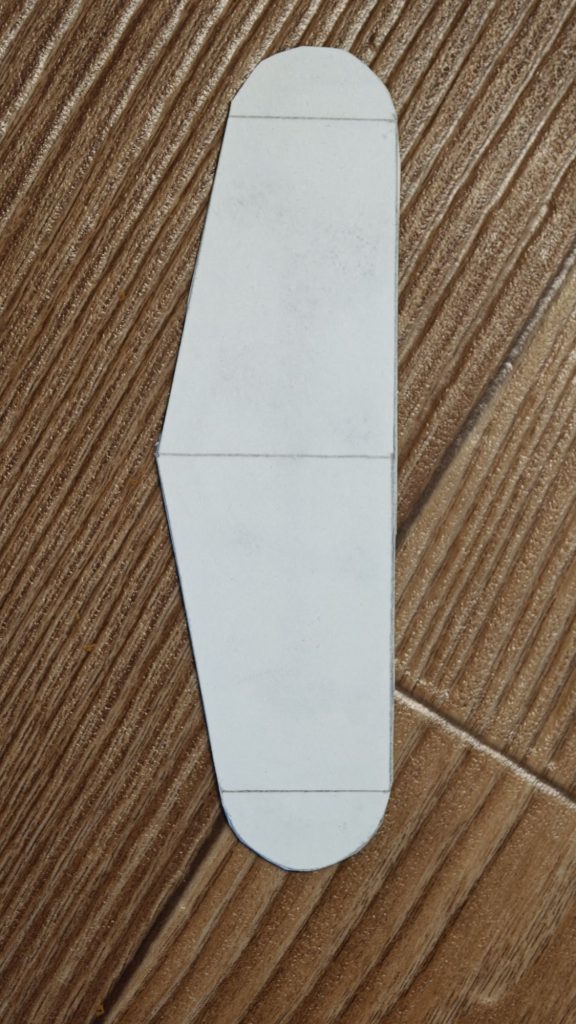
8)Glue the stabilizer parts together in two layers and neatly trim away any excess paper.
9)Glue the vertical fin in two layers with the fold facing forward, bend the tabs, and glue it perpendicularly in the center of the stabilizer.
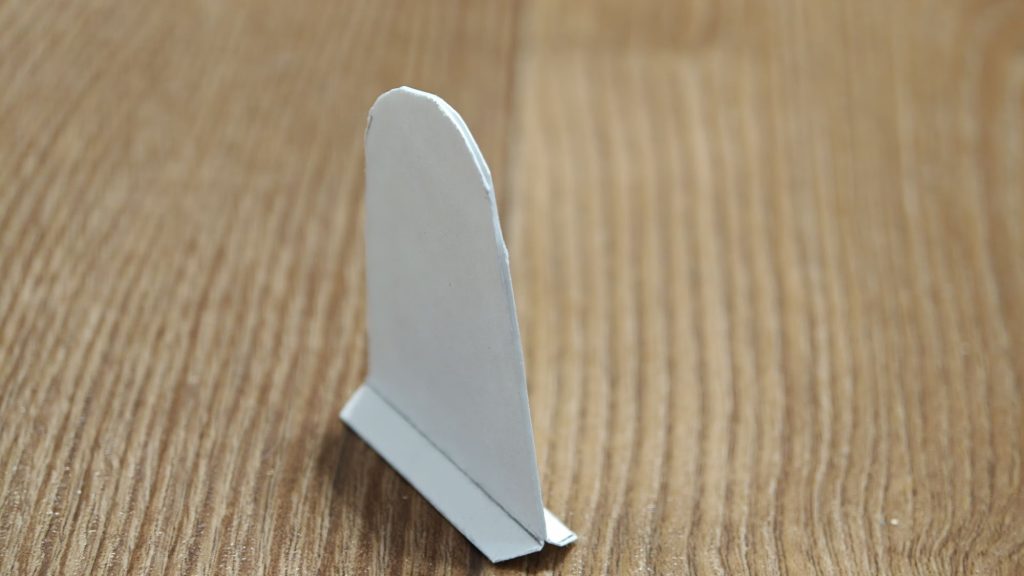
10)Apply glue to the tail unit and attach it to the rear ends of the two round skewers.
11)Using a round object about 5 mm in diameter, make neat upward bends at the wingtips.
12)Attach clay to the nose skewer: if the glider dives, remove some mass, and if the tail drops, add weight to the nose.
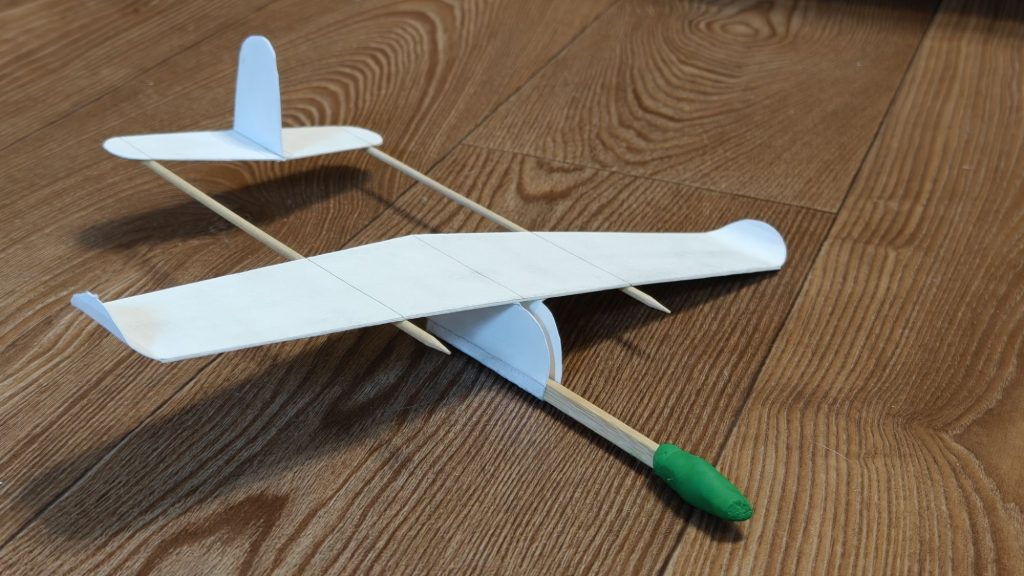
13)Launch the glider with a smooth throw at medium speed to achieve a stable and long glide.