 Written by
 Materials for construction
A sheet of thick watercolor paper
A wooden cooking skewer
A piece of modeling clay
A ruler and a pencil
Scissors and glue
1)Marking out parts
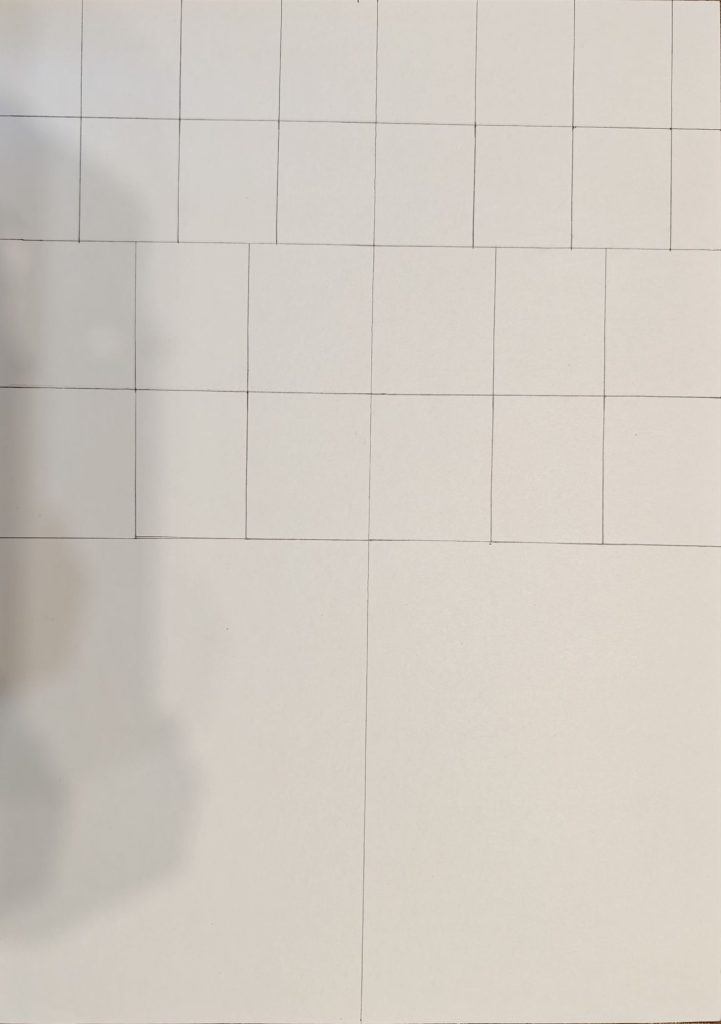
Take a sheet of watercolor paper and draw two rectangles using a ruler and a pencil
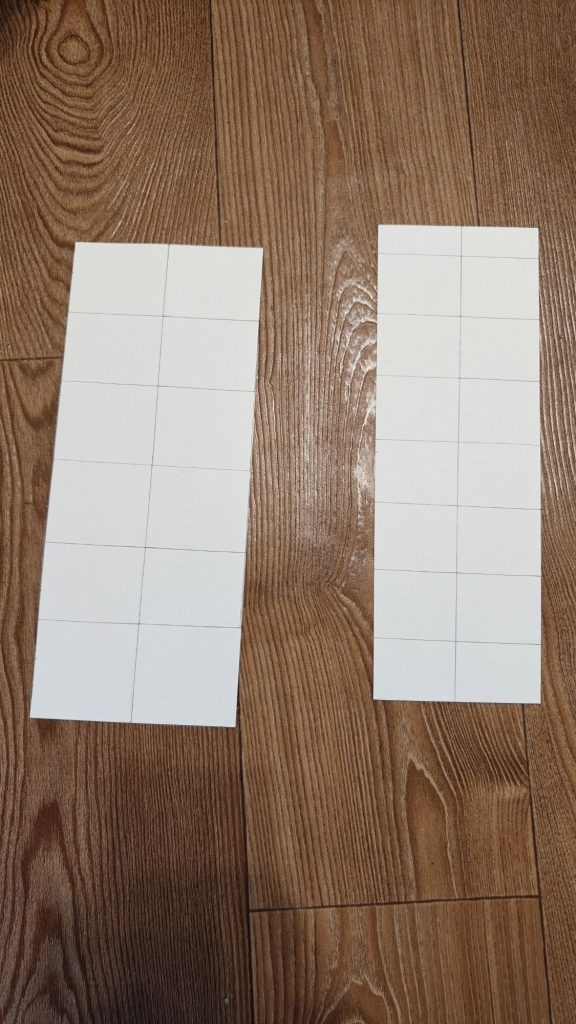
The first strip is made six centimeters wide and twenty eight centimeters long for the rear wing
The second strip is made four centimeters wide and twenty centimeters long for the front wing
Divide each strip lengthwise into four equal parts and add a one centimeter tab at the edge for gluing
2)Preparing the folds
Take scissors and carefully score along all drawn fold lines with the blunt side of the blade
This will help bend the thick paper at a right angle and get smooth edges without creases
Fold each strip along the prepared lines into rectangular boxes
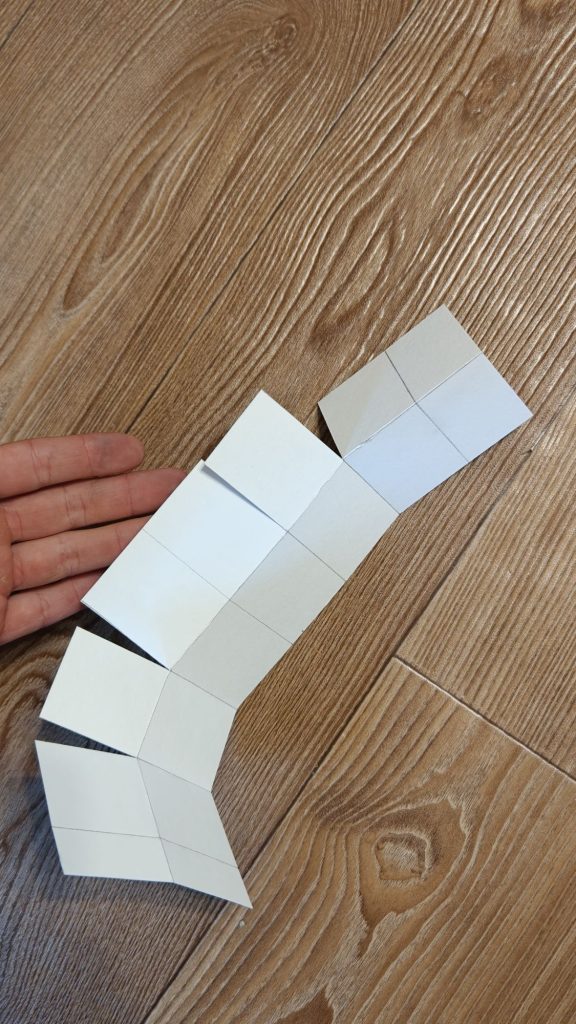
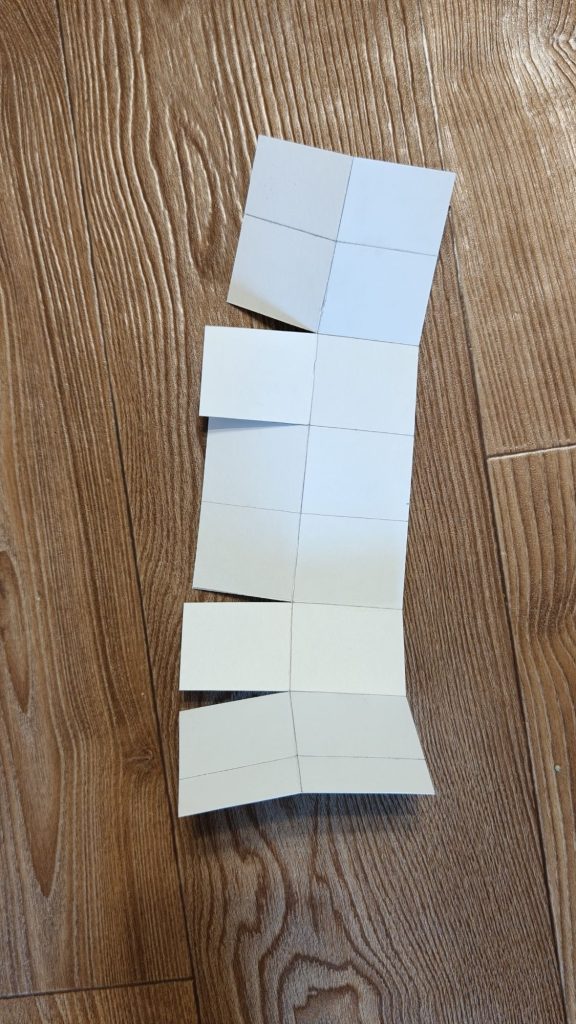
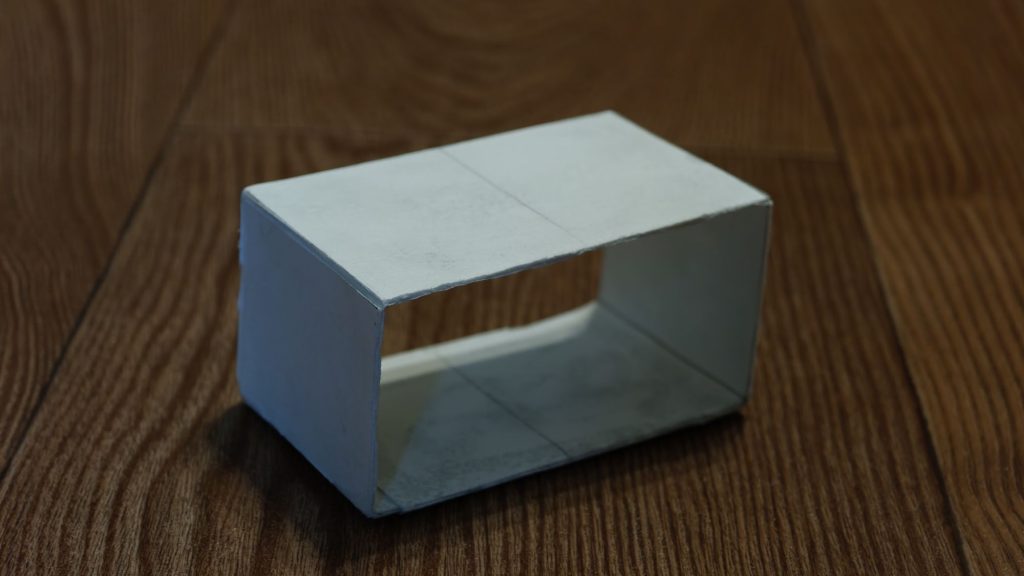
3)Gluing the wings
Apply glue to the edge tab of the first strip and assemble it into a rectangular tunnel
Glue the second strip in the exact same way and let the glue dry for a couple of minutes
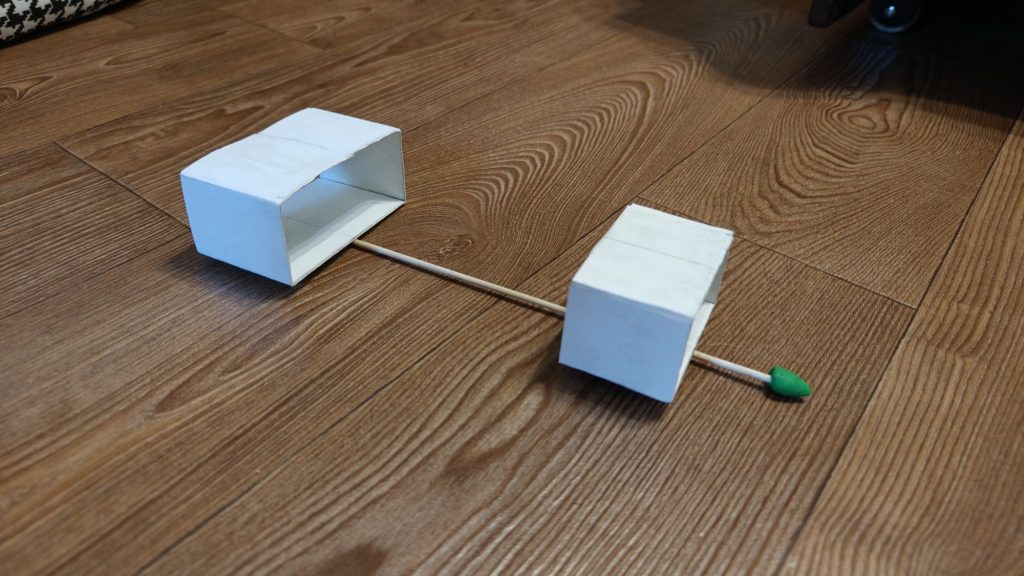
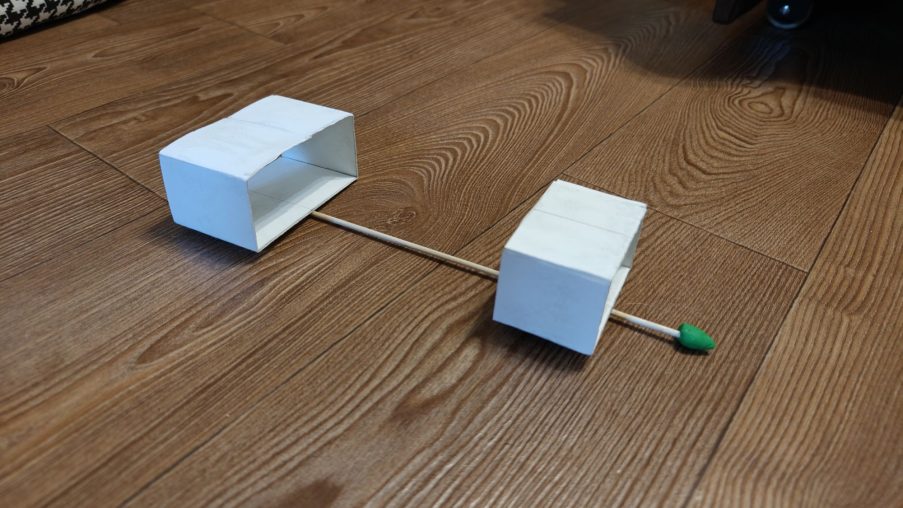
As a result you get two lightweight rectangular boxes
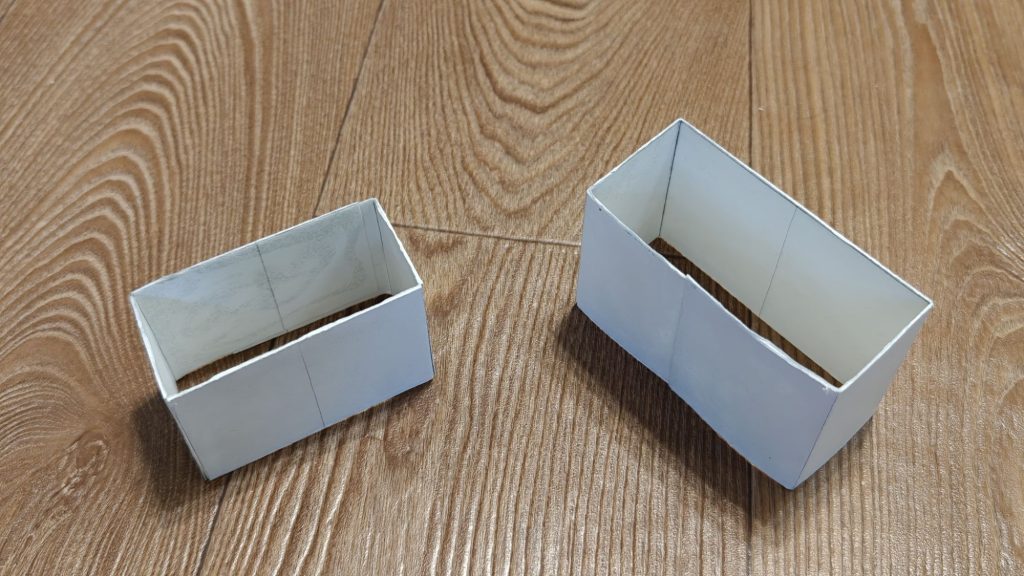
4)Fuselage assembly
Take a wooden skewer which will be the axis of our glider
Glue the small box closer to the front edge of the skewer right in the center of the bottom base
Glue the large box to the back part of the skewer in the exact same way in the center
Make sure both rectangles stand parallel and without distortion
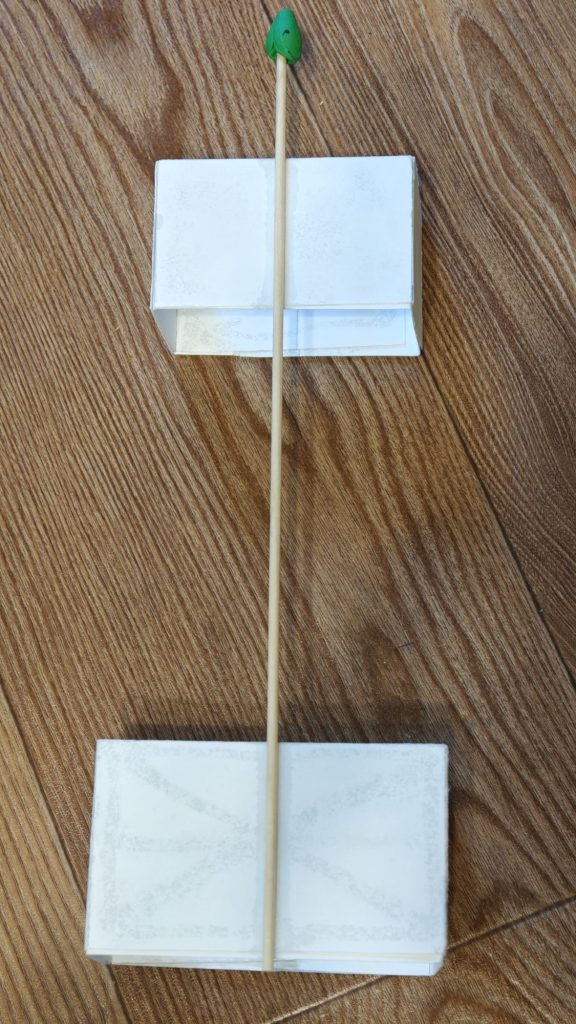
5)Weighting and adjustment
Roll a small ball out of modeling clay
Attach the clay to the very tip of the skewer at the front
If the model nose dives during launch reduce the clay
If the model pitches up and falls on its tail add more clay
The rectangular wing creates a stable airflow and allows the model to glide smoothly without a vertical fin