
 Written by
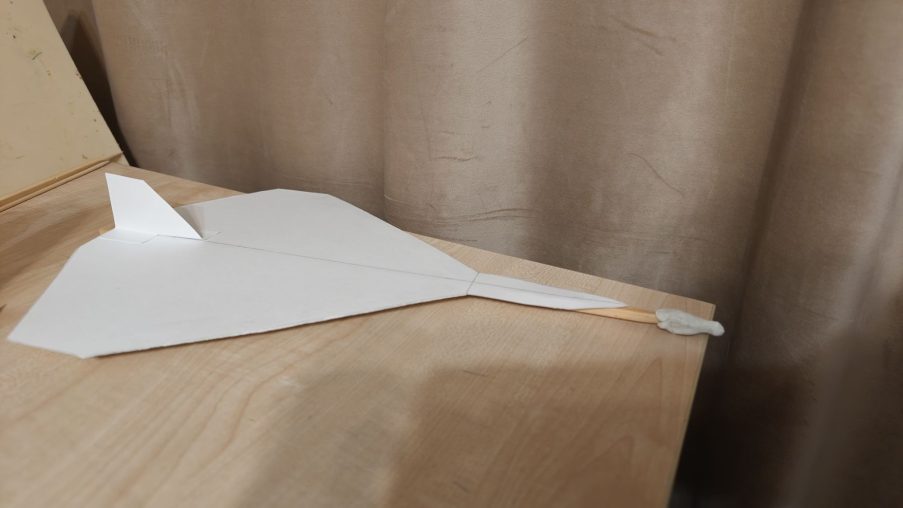
The triangular-wing model (Delta configuration) features high speed and excellent stability in gliding flight. The single-piece construction with double stiffening folds and a bamboo spar protects the airframe from deformation during launch.
Materials needed:
1 Watercolor paper (1 sheet, A3 or A4 size)
2 Long bamboo skewer (30 cm)
3 PVA glue
4 Modeling clay for balancing
5 Ruler, pencil, scissors, and an empty ballpoint pen
1 Drawing and Single-Piece Template Cutout
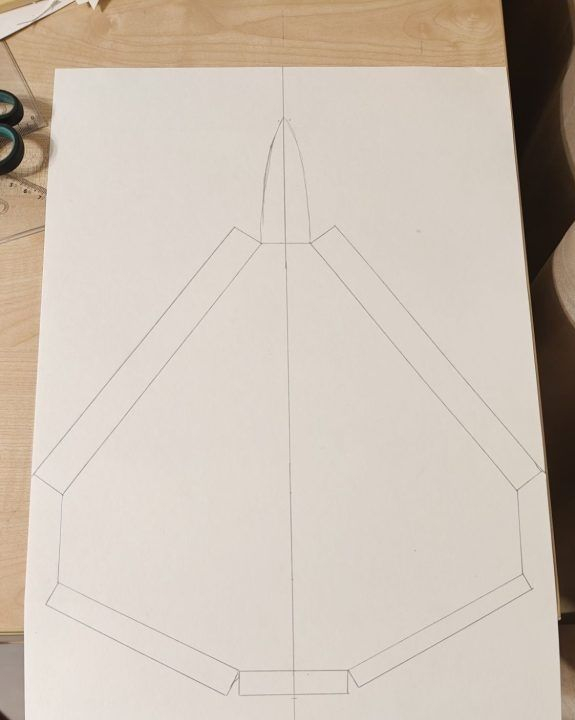
1 Mark a symmetrical delta wing on the sheet with an elongated nose section and folding flaps.
2 Mark side strips for the stiffening leading edges and elevon flaps on the trailing edge.
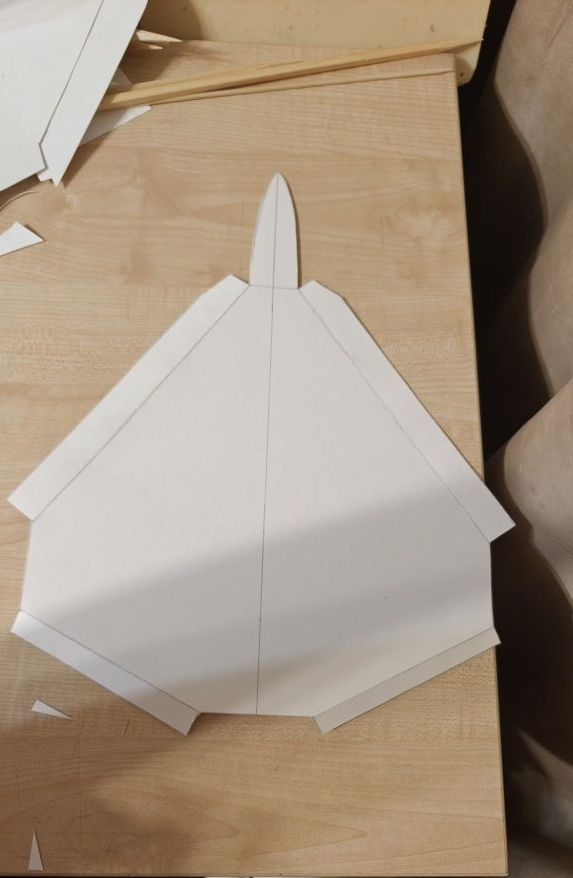
3 Cut out the entire single-piece blank along the outer contour.
2 Edge Reinforcement and Airfoil Shaping
1 Score along all fold lines on the leading and trailing edges using an empty ballpoint pen and a ruler.
2 Fold the leading edge flaps inward, coat them generously with PVA glue, and press them firmly with a ruler.
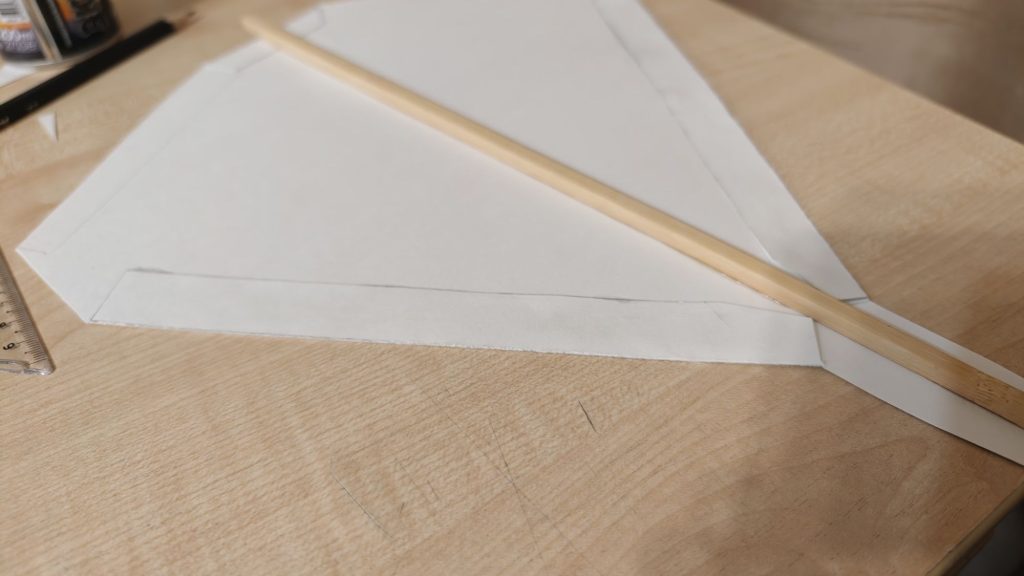
3 Slightly bend the rear elevons upward to adjust lift.
3 Installing the Main Longitudinal Spine
1 Draw a central centerline on the underside of the glider.
2 Glue the bamboo skewer with PVA glue along the entire axis — from the trailing edge to the nose.
3 Leave 2–3 cm of the skewer protruding at the front to mount the nose weight.
4 Vertical Fin Assembly and Mounting
1 Cut out a double-walled fin piece with bottom mounting tabs bent outward in opposite directions.
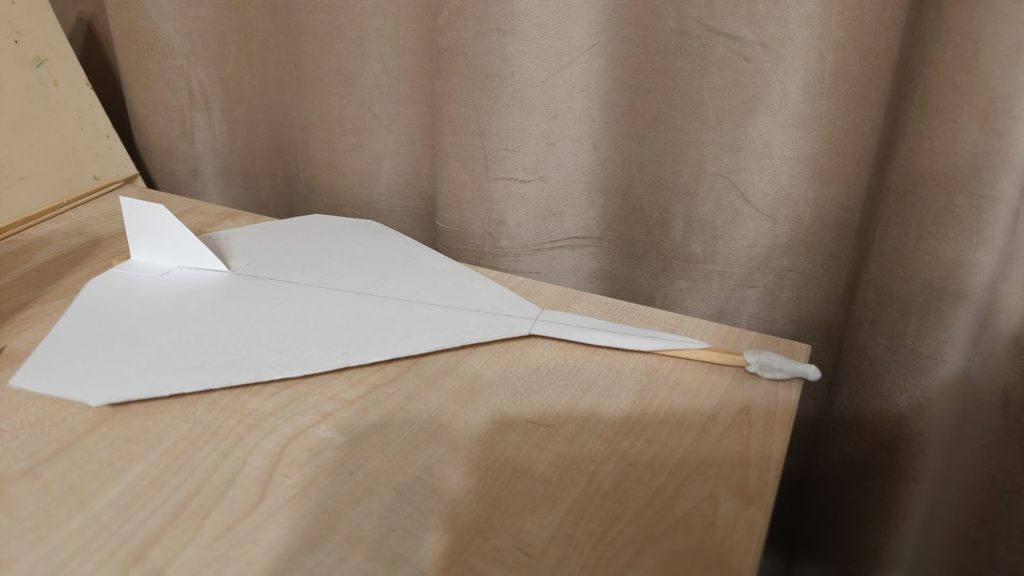
2 Glue the side walls of the fin together using PVA glue.
3 Glue the fin tabs onto the center of the tail section, directly over the attached skewer.
5 Center of Gravity Adjustment and Launch Setup
1 Attach a small ball of modeling clay to the protruding front tip of the skewer.
2 Support the glider with your fingers under the front third of the wing and adjust the clay mass until it achieves a horizontal balance.
3 If the glider dives steeply into the ground upon launch, reduce the amount of clay.
4 If the glider pitches its nose up, loses speed, and stalls, add a little more clay to the nose.