 Written by
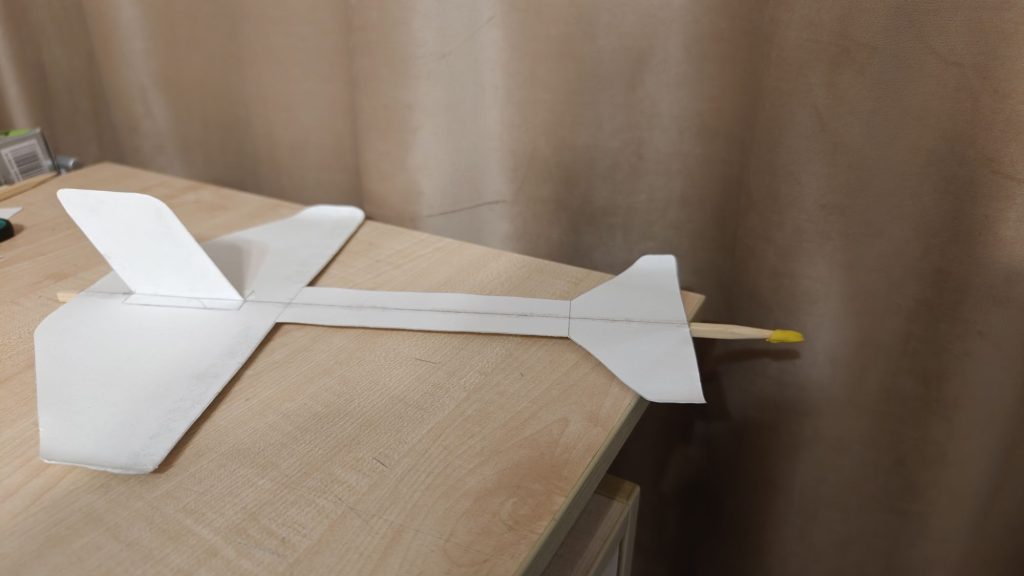
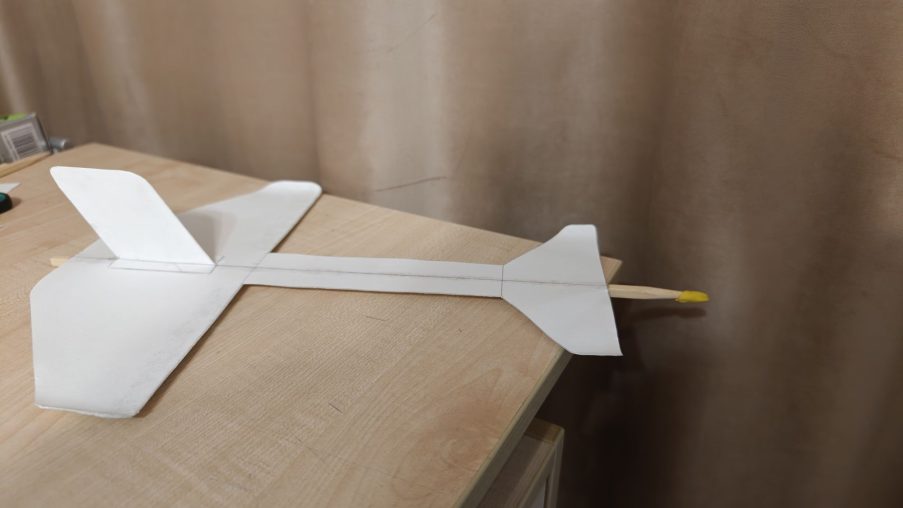
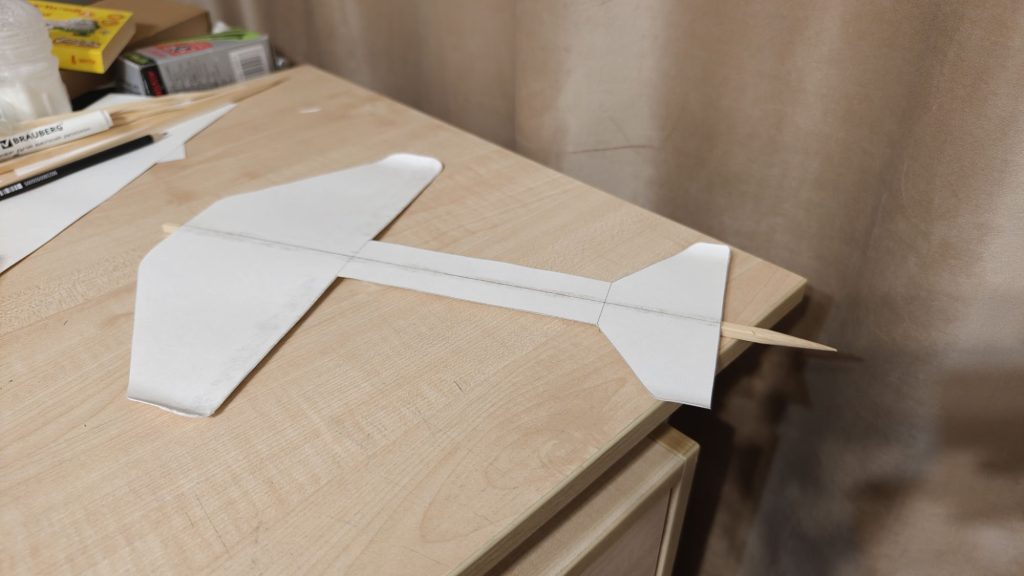
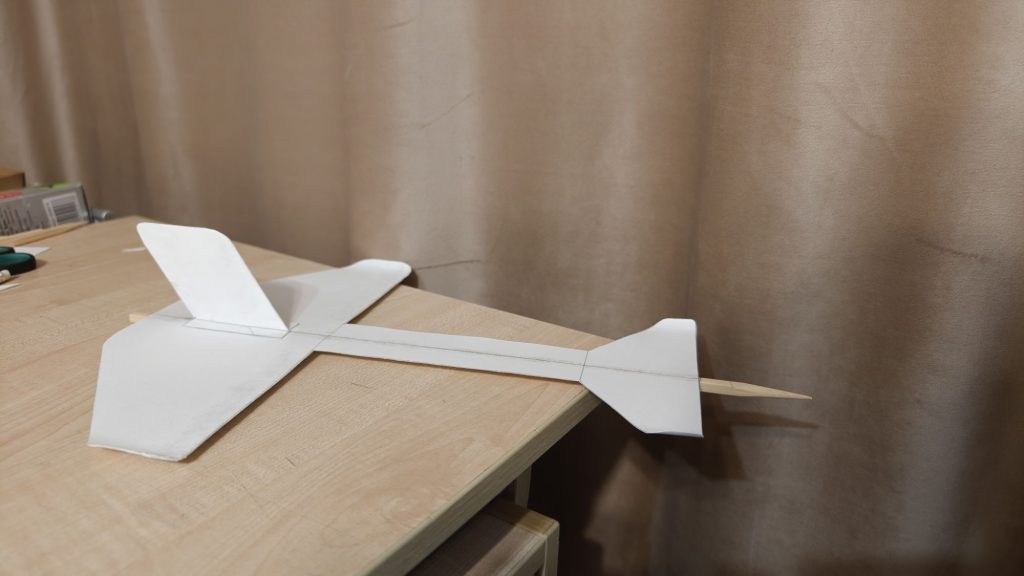
 This single-piece layout with a forward canard wing looks like a futuristic drone. Thanks to the integrated paper fuselage strip, it comes together quickly and holds its geometric alignment perfectly.
What you’ll need:
A sheet of heavy paper (watercolor paper or Bristol board works best)
A long wooden or bamboo skewer
PVA glue (or any paper-friendly craft glue)
A small piece of modeling clay for tuning the balance
A ruler, pencil, scissors, and a round object about 5 mm in diameter (like a thin marker or paintbrush handle)
Step-by-step assembly guide:
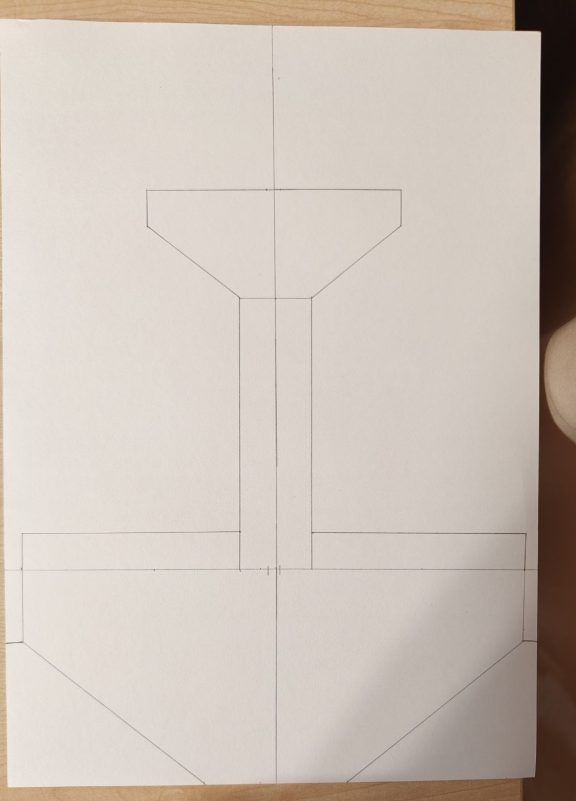
1)Layout and drafting the template. Lay out your paper and draw a central axis line. Draft the entire glider as a single continuous piece: the front wing (canard), the central connecting fuselage strip, and the main rear wing tapering toward the tail. Scale the dimensions to fit your skewer—it should run along the entire glider and stick out slightly at the front. Be sure to add a rectangular paper tab (about 1.5–2 cm wide) along the leading edge of the rear wing to reinforce rigidity later.
2)Cutting out the main body. Carefully cut out the single-piece cutout along its outer outline. Because both wings and the center fuselage strip are cut as one solid piece, the glider won’t warp or twist out of alignment in flight.
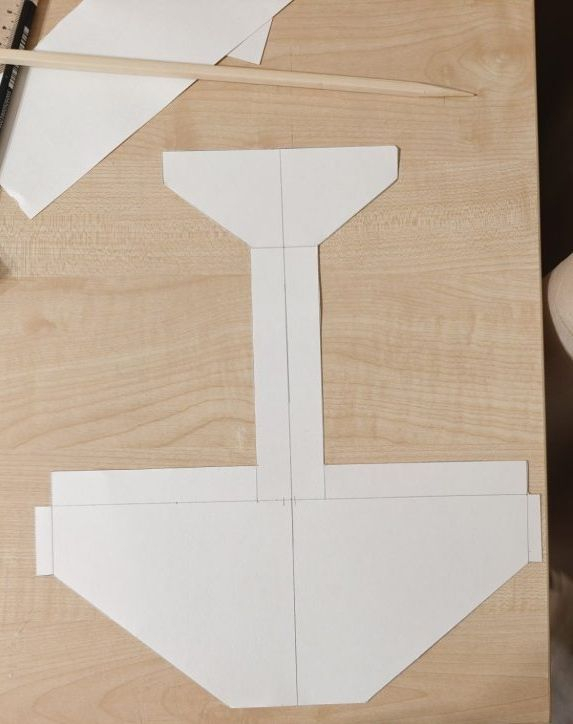
3)Forming the leading-edge stiffness ribs. Fold down the extra tabs along the leading edge of the main wing. This double layer of paper acts as an integrated stiffness rib, keeping the wing from bending or fluttering in the airflow so it maintains its proper aerodynamic profile.
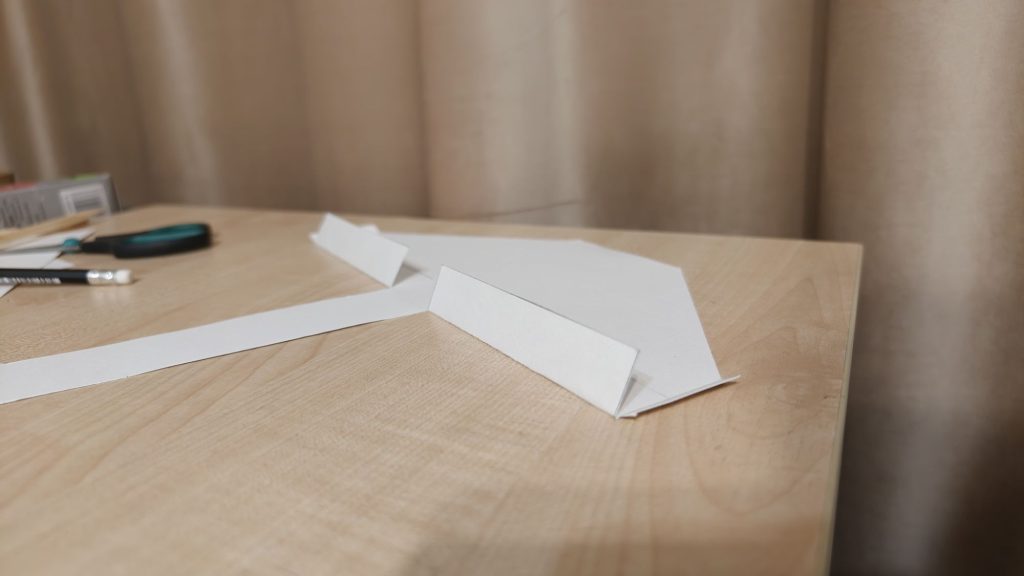
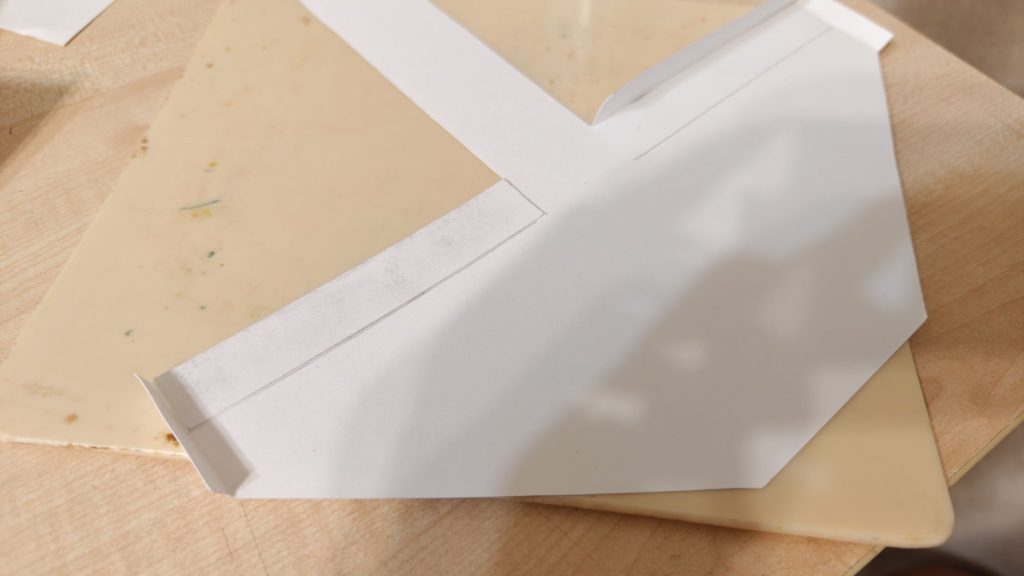
4)Shaping the wingtips (winglets). To keep the glider stable in roll and prevent it from tipping sideways, add slight upward curves to all four wingtips (both front and rear wings). Place a round tool about 5 mm thick (like a pencil or paintbrush handle) underneath the tips and gently roll the edges upward.
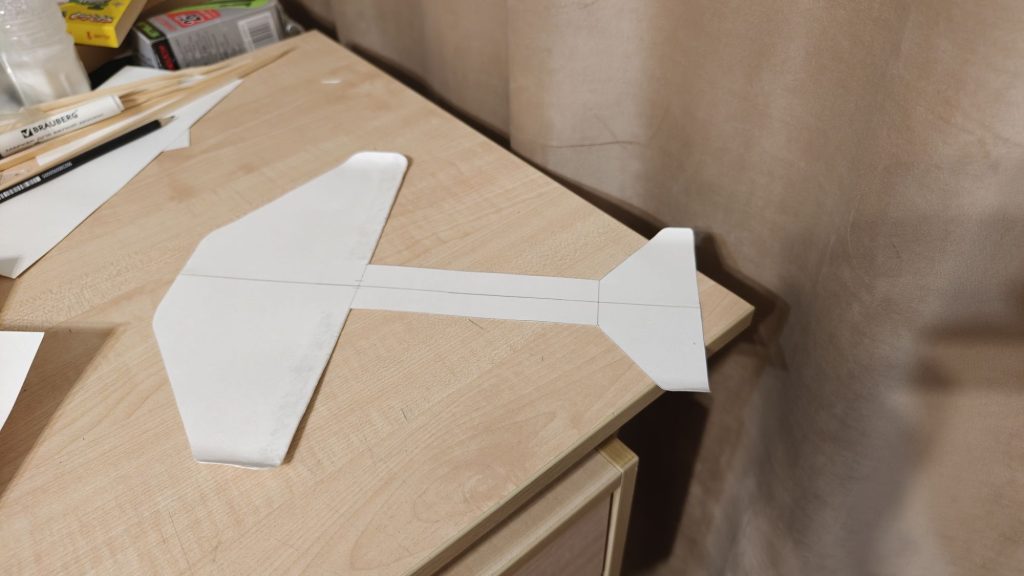
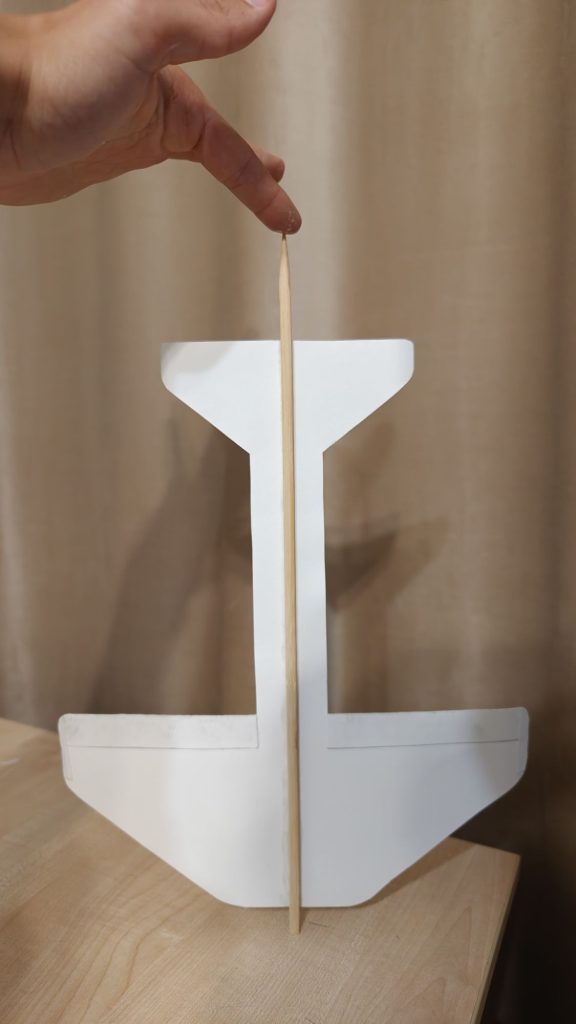
5)Mounting the main skewer fuselage. Apply glue along the entire centerline on the underside of your paper cutout. Place the wooden skewer precisely along the axis line running from nose to tail and press down firmly. Sight down the length of the model from the end to make sure the paper sits perfectly flat and square relative to the skewer.
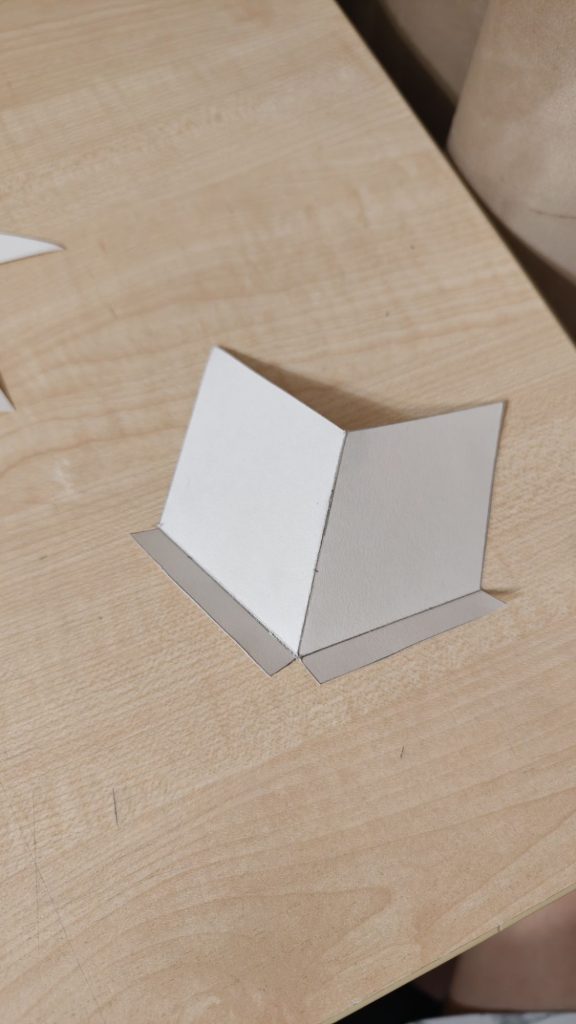
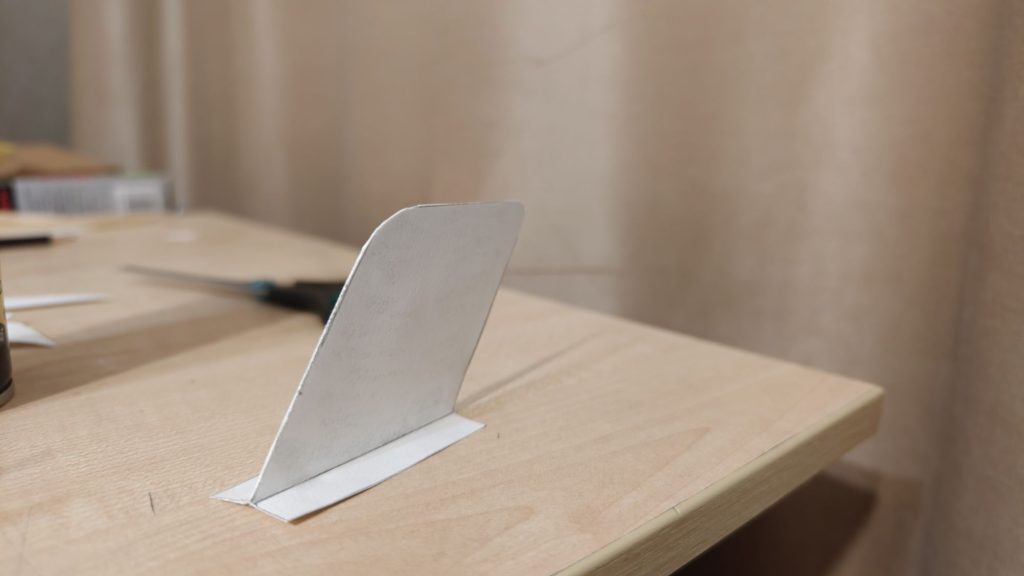
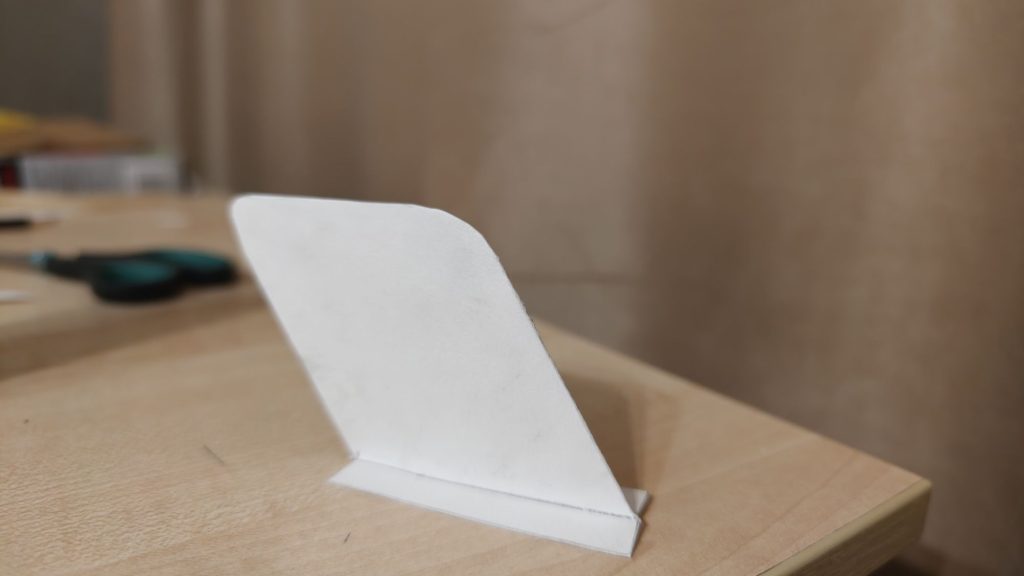
6)Crafting the vertical fin (tail stabilizer). Cut out the vertical fin using two identical paper halves (or a folded piece of paper) to make it double-layered and rigid. Cut a slit at the bottom and fold the mounting tabs out in opposite directions. Test-fit the fin on the rear fuselage, mark your gluing spot, and attach it. The key is ensuring the fin sits perfectly perpendicular to the wing plane.
7)Balancing and test flights. Canard designs are sensitive to balance, so you won’t need much clay on the nose. Give it a gentle test toss without any ballast first. If the glider pitches up, stalls on its tail, and drops, add a tiny ball of modeling clay to the very tip of the front skewer. If it immediately nosedives into the ground, pinch off a bit of clay or adjust the balance back. Fine-tune until you get a smooth, steady glide along a flat trajectory.